
Indigo dyeing: with sewn shibori!
My friends and I did a fructose indigo vat for cellulose fibers very recently. This was a fun learning experience.
None of us had done this before, with myself being the most inexperienced dyer. D has done cochineal, A has done a lot of eco printing and other dye pots, including synthetic indigo and fresh leaf indigo dyeing/vats. But not a fructose vat that stays "alive".
We used the instructions from Botanical Colors: and aimed for a 5 gm/L concentration for a medium blue. This is because we had a 5 gallon bucket for the vat as for their example, but only 54 grams of indigo powder. So we had to reduce all the quantities in their chart of suggested quantities, including the water. (We've done a bit more reading and think we could have maybe kept the same amount of water to fill the bucket to make dyeing easier, and just reduced the amounts of fructose, calcium hydroxide, and indigo extract powder, but we are not sure!).
Their table calls for 80g of indigo powder for the 5 gm/L concentration. We had 54g, or 67.5%. So we used 67.5% of everything in that row of the table. Getting 10.8L of water to 180 degrees Fahrenheit was a challenge without a proper stove! We used a tea kettle, mostly.
The fructose vat has to sit overnight to complete whatever chemical process needs to happen. We weren't able to come back and dye that next day, so knew we had to wake it up when we were all available to dye, about a week later.
This involved heating the vat to about 90 degrees Fahrenheit and following some troubleshooting steps since our pH was too low to dye. We heated our bucket in a gigantic water bath, and the bucket did not melt!
Our pH was about 9 before we warmed it up and stirred. Once we let it settle for a full hour, the pH had come up to 11! So no additions were needed, which was good, since each mix-in would require another hour of waiting. For whatever reason, the only day we had an indigo flower was the very first day. But the vat worked just fine!
Dipping the dyeables was exciting each and every time.
When you pull the item out of the dye bath, it's a fairly bright, vibrant green. As it oxidizes, it starts to turn blue. We immediately rinsed vigorously in a different bucket of room temperature water. Early on we could watch the blue develop on the fabric, but throughout the day, the rinse water itself got more and more blue! We didn't change it out since the water was just needed to oxidize the fabric.
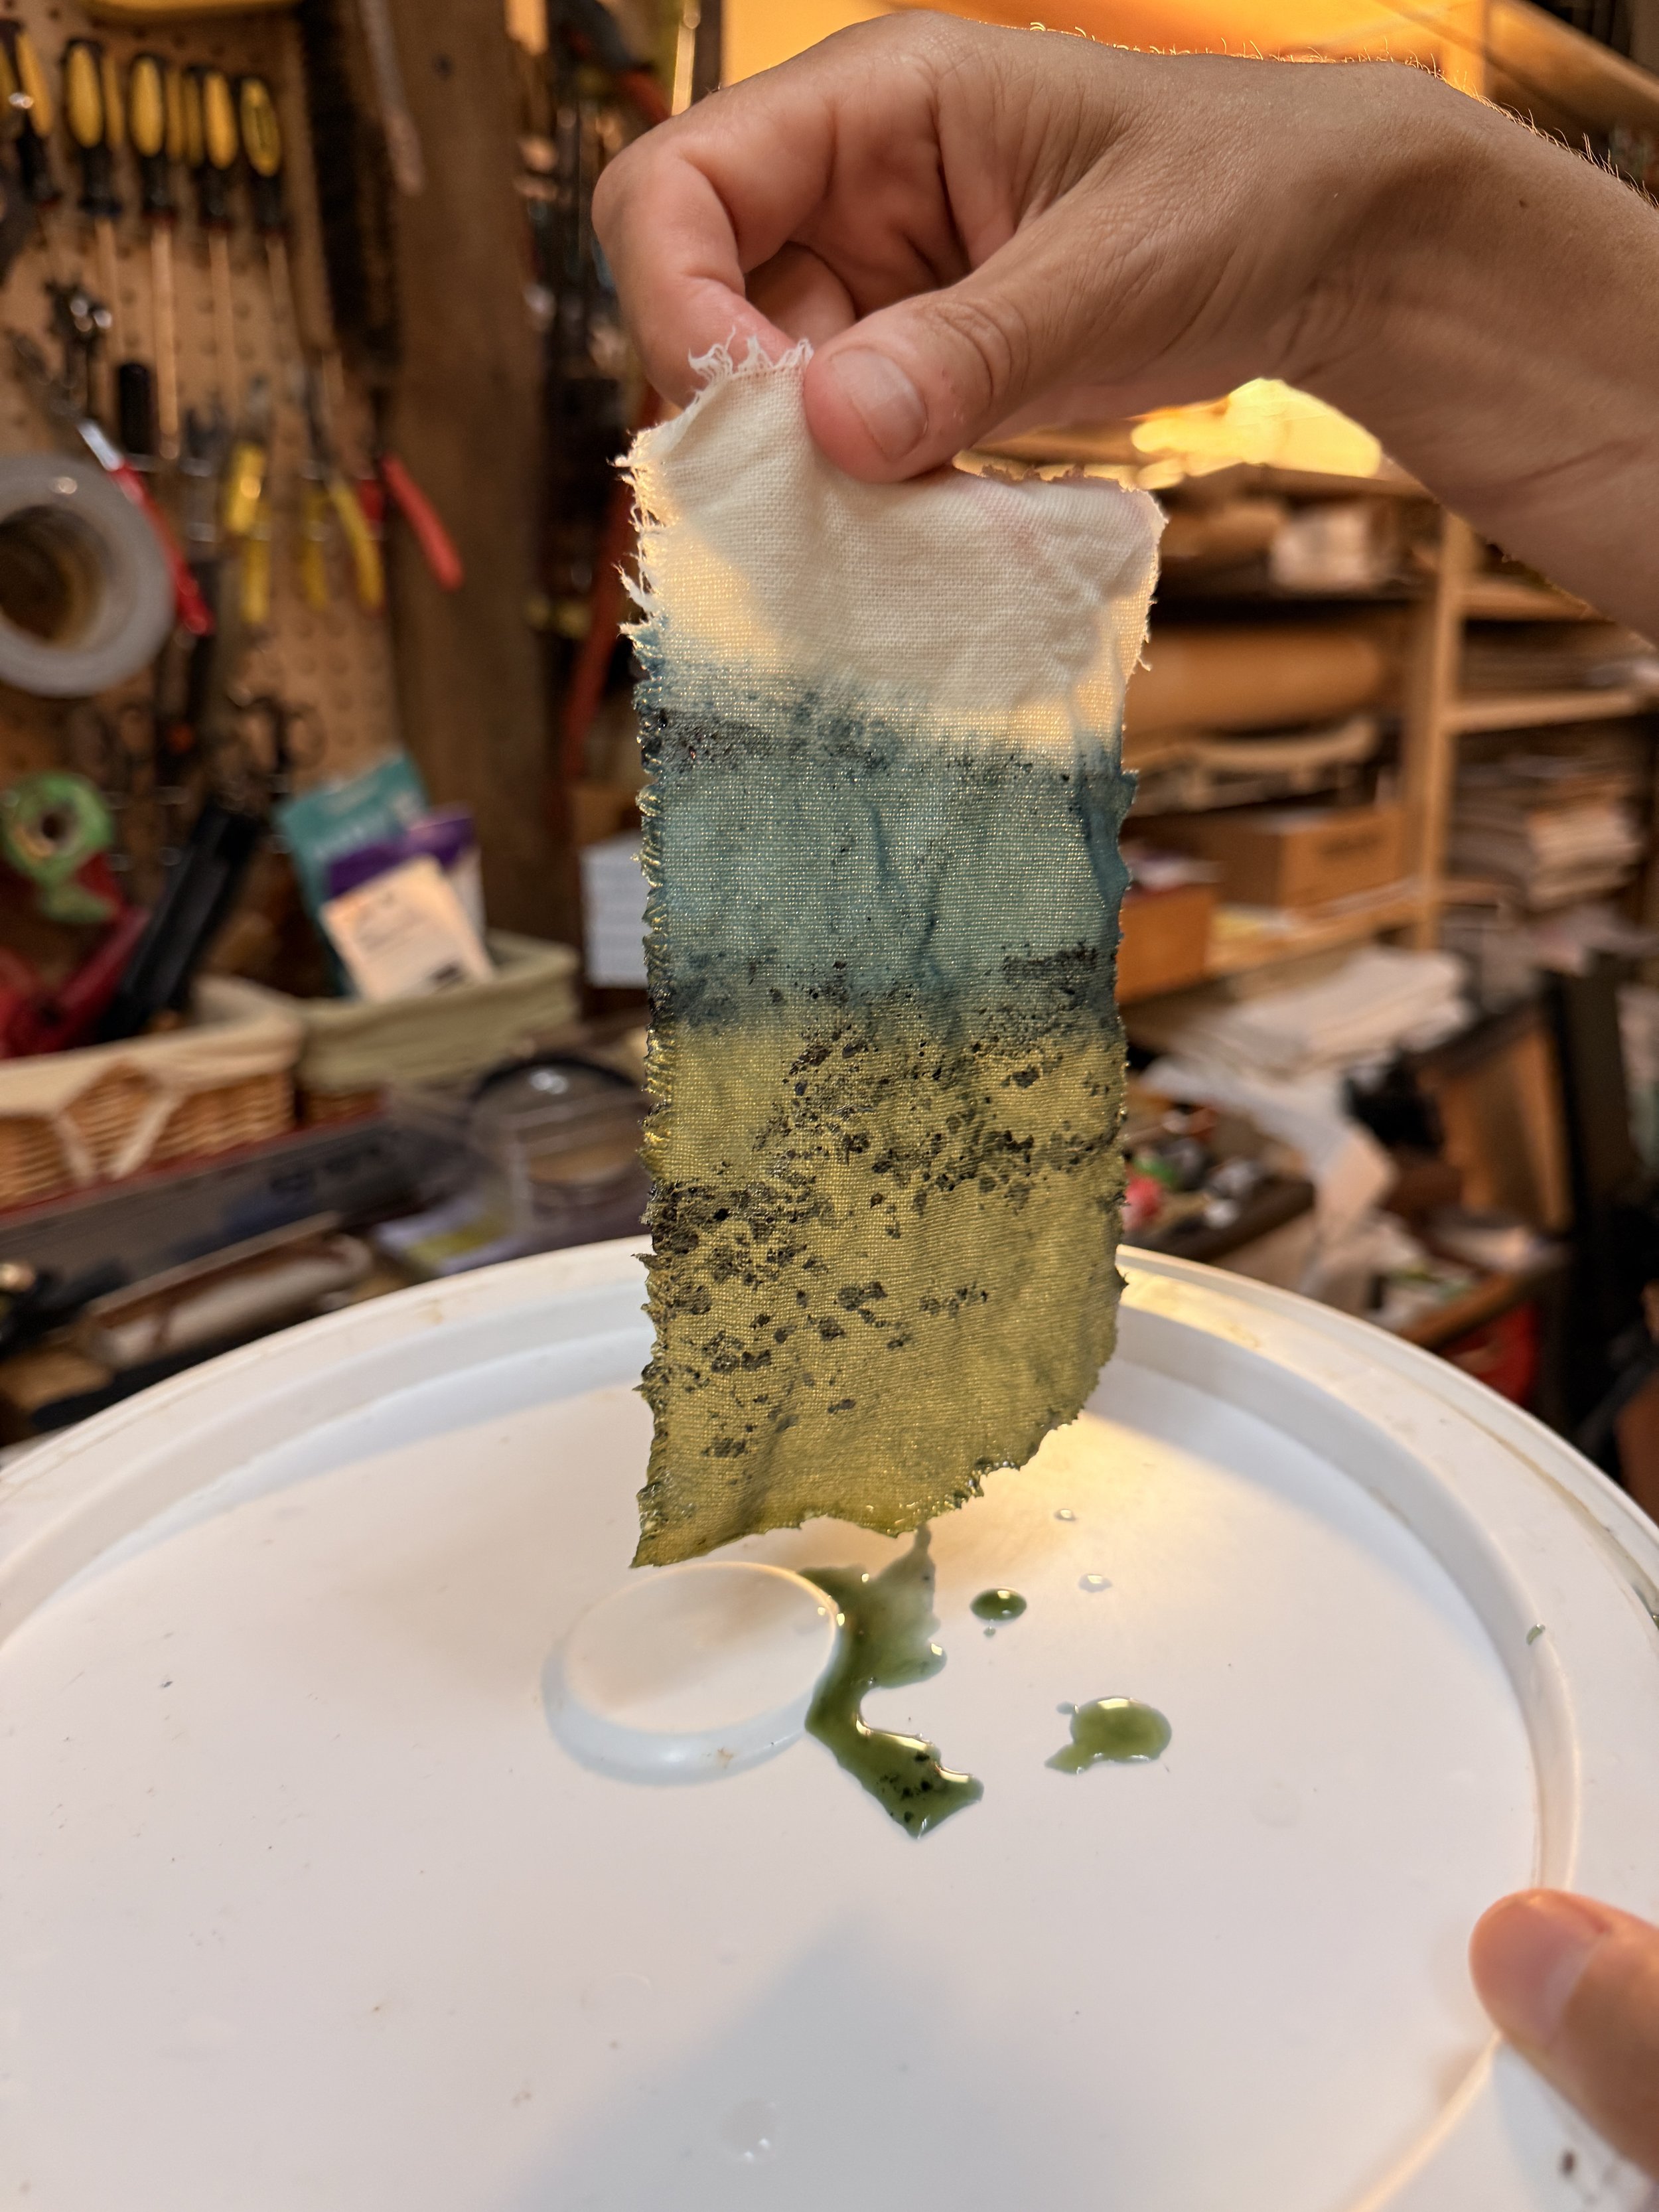
Our test dip! We dipped it twice, and you can see the oxidized blue versus unoxidized green. Plus a lot of sediment, oops!
A few things were only dipped once. A few things were dipped up to four times!
A "dip" consists of pre-wetting the fabric in normal water, then gently lowering it into the vat, leaving it submersed for up to a minute. You do have to swirl it around once submersed, but have to also avoid making bubbles (this oxidizes the vat and lowers the pH!) and avoid stirring up the sediment at the bottom. My friend A also recommended withdrawing it gently against the side of the bucket, to prevent additional bubbles as the liquid drips off.
In a 5 gallon bucket with a large piece of fabric, this proved difficult to get an even coloring. This was solved by simply dipping additional times! We read that you should allow for fifteen minutes between dips to allow the previous dye to fully oxidize, but didn't always wait that long!
Everything does lighten significantly once dry. I was happy with the color of everything with one or two dips, but was convinced to do an extra one: that was definitely the way to go!
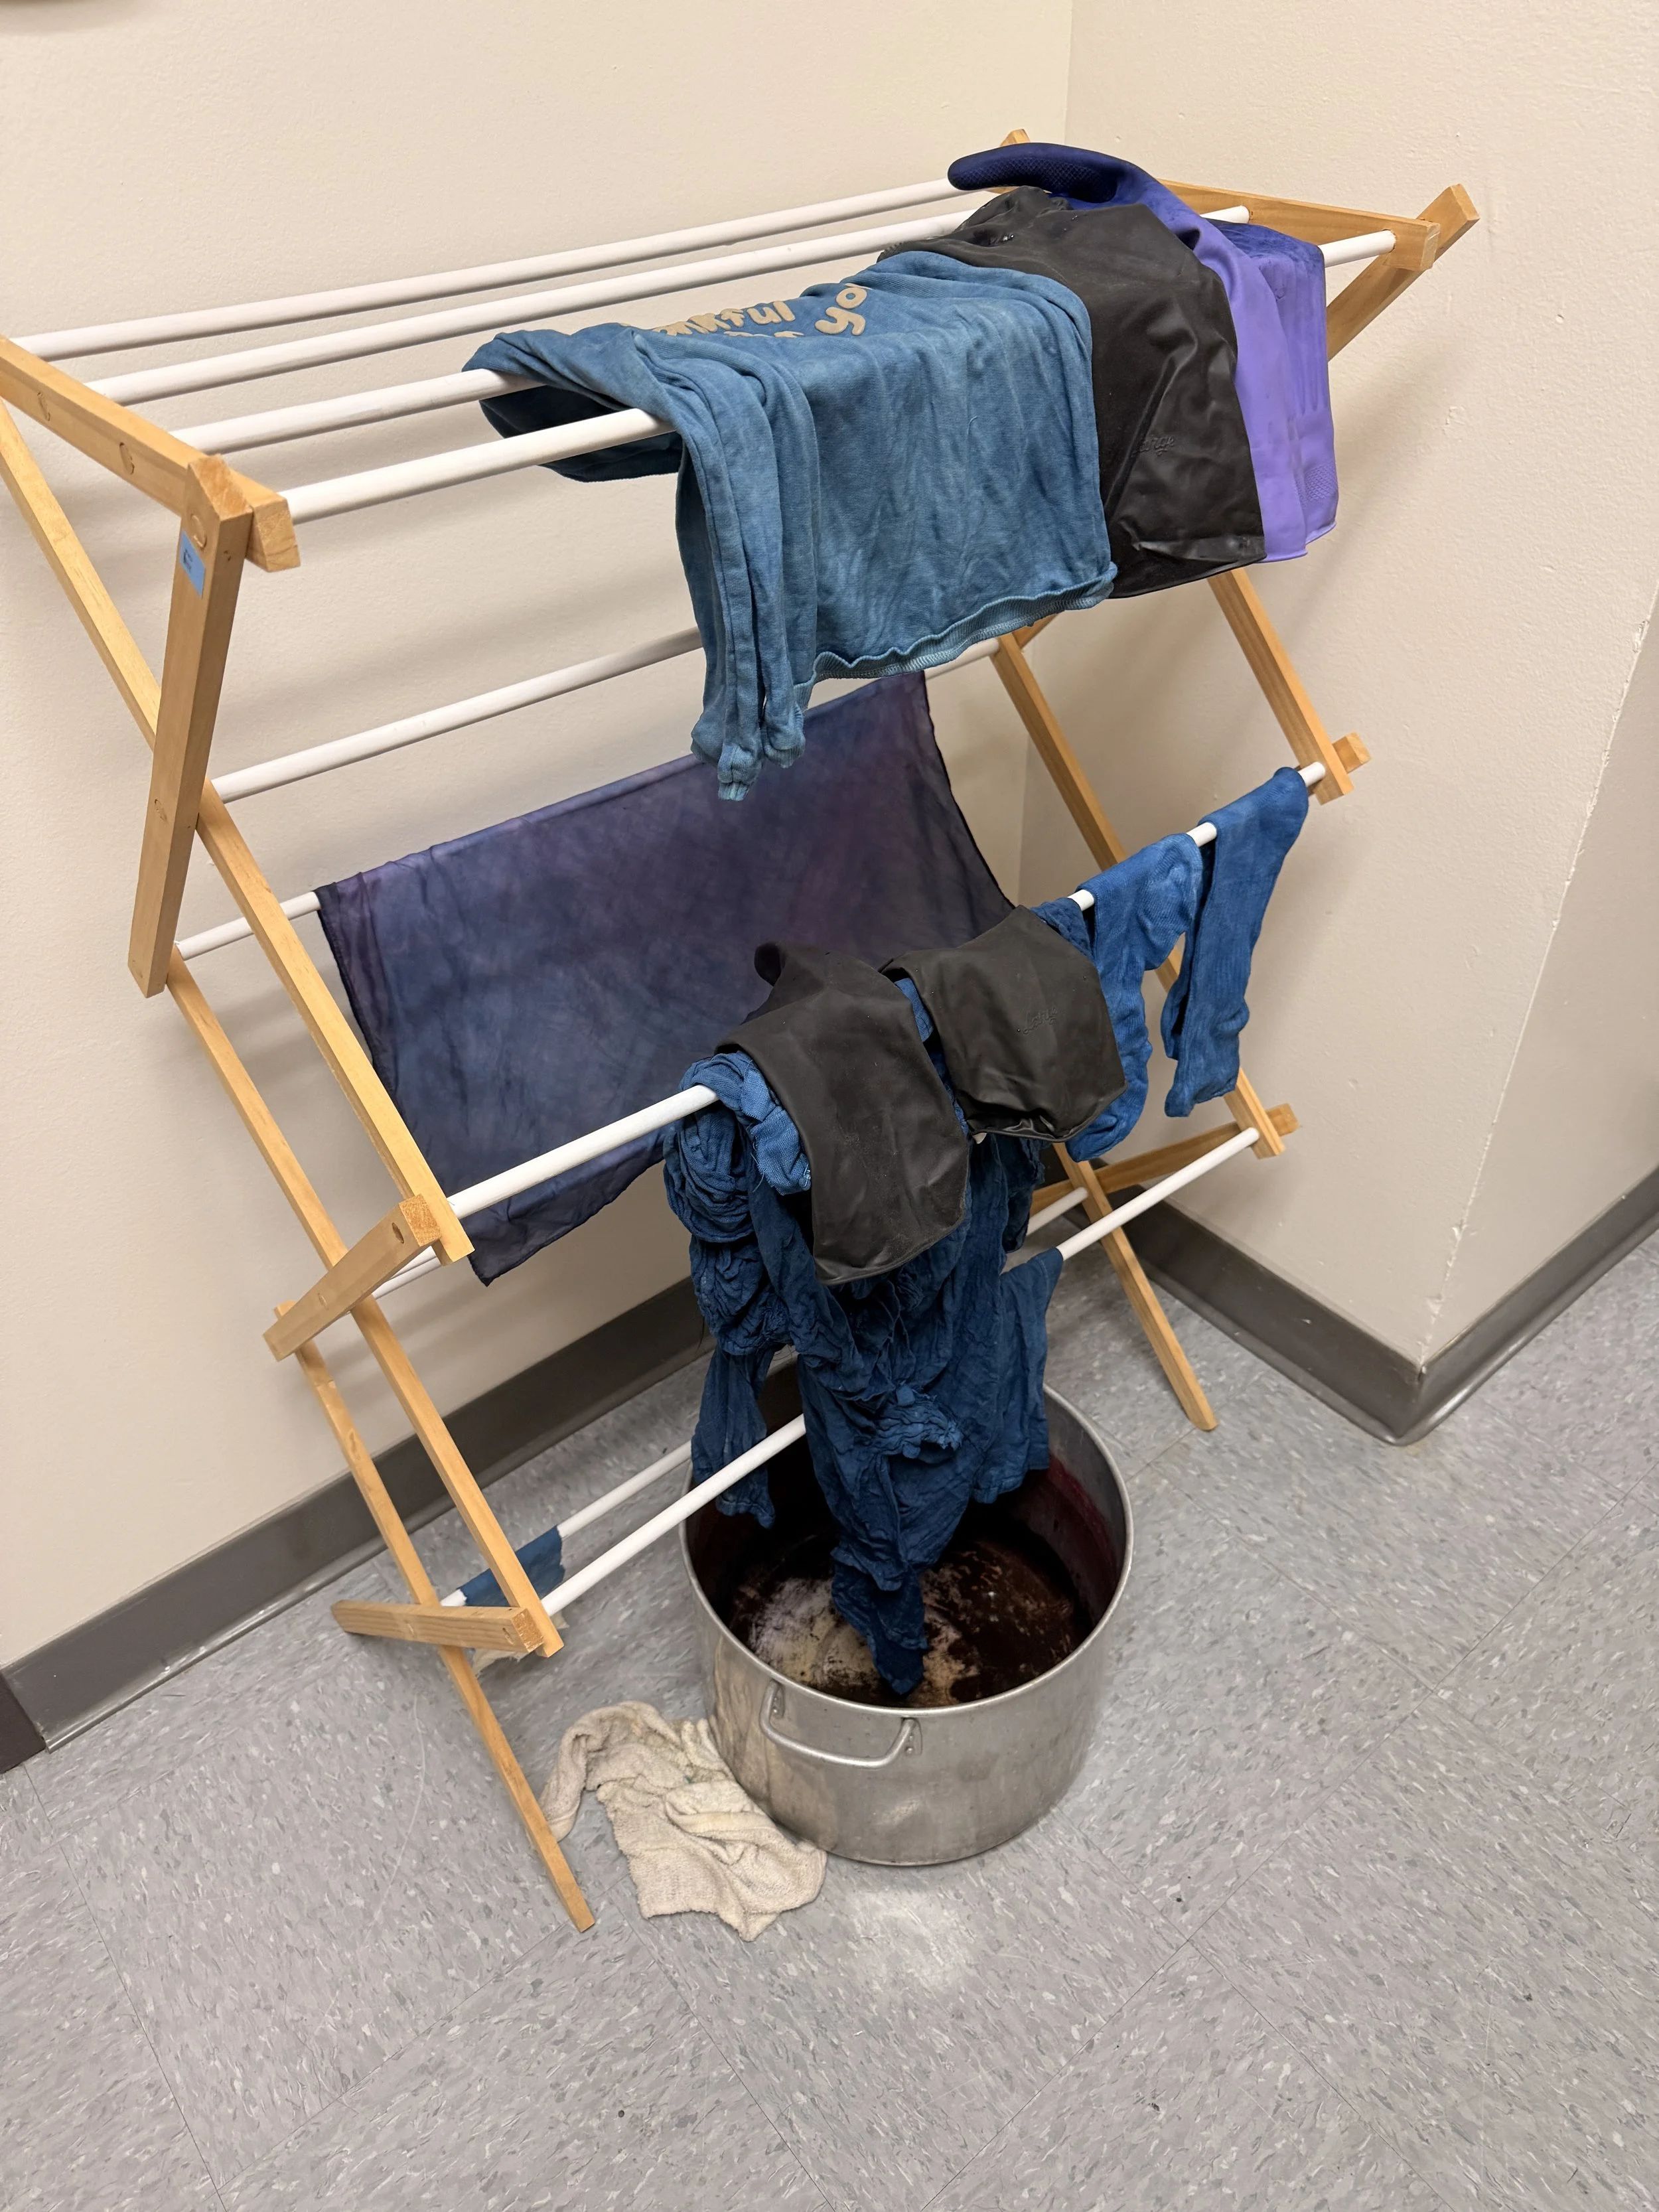
First look at the drying rack
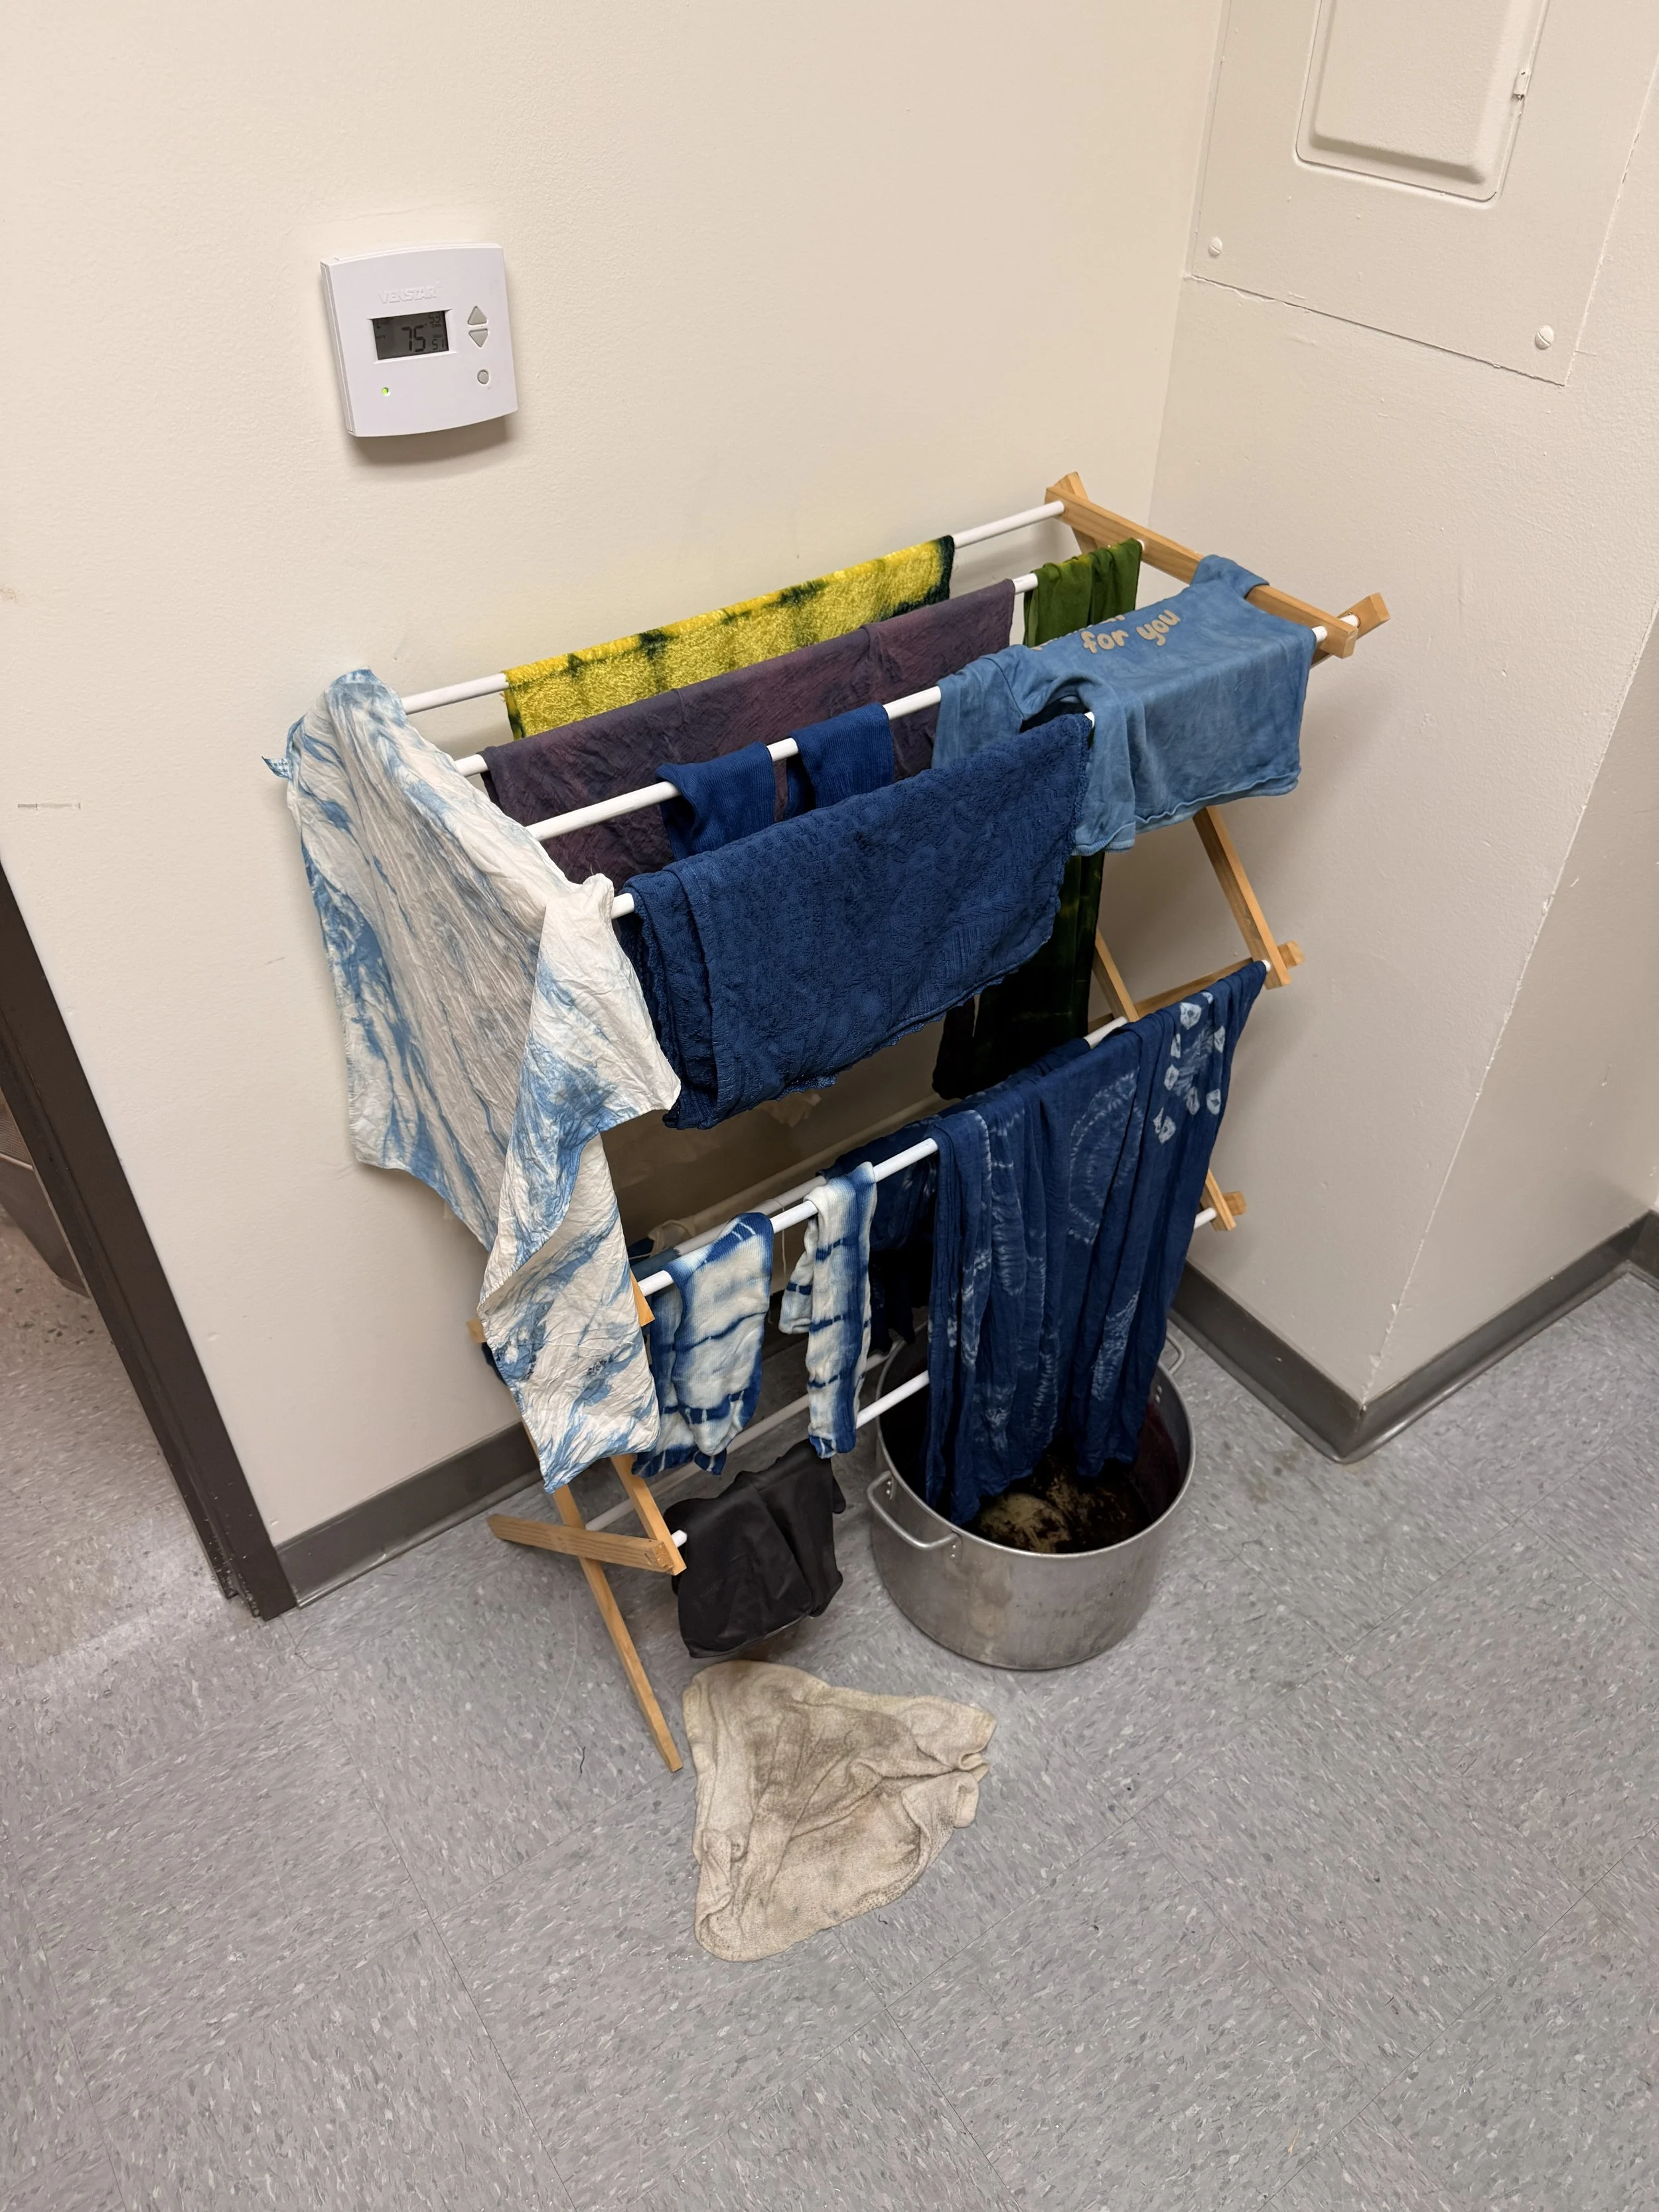
Second look at the drying rack: colors are lightening, ever so slightly!
My shibori baby swaddle turned out great for a first attempt. I can see clearly which specific techniques went well and went less well.
If I were to do this again, I'd leave less space between the diagonal zig zags. I would also do the tab method for every line of stitching! Or use crochet cotton for the stitching, since I have a lot of it. And I would make the stitch lines for the circles far closer, to get the larch effect, rather than a bullseye.
I didn't find measurements for line spacing and stitch size, so made up my own. Stitches were about half an inch in length, lines were an inch or so apart.
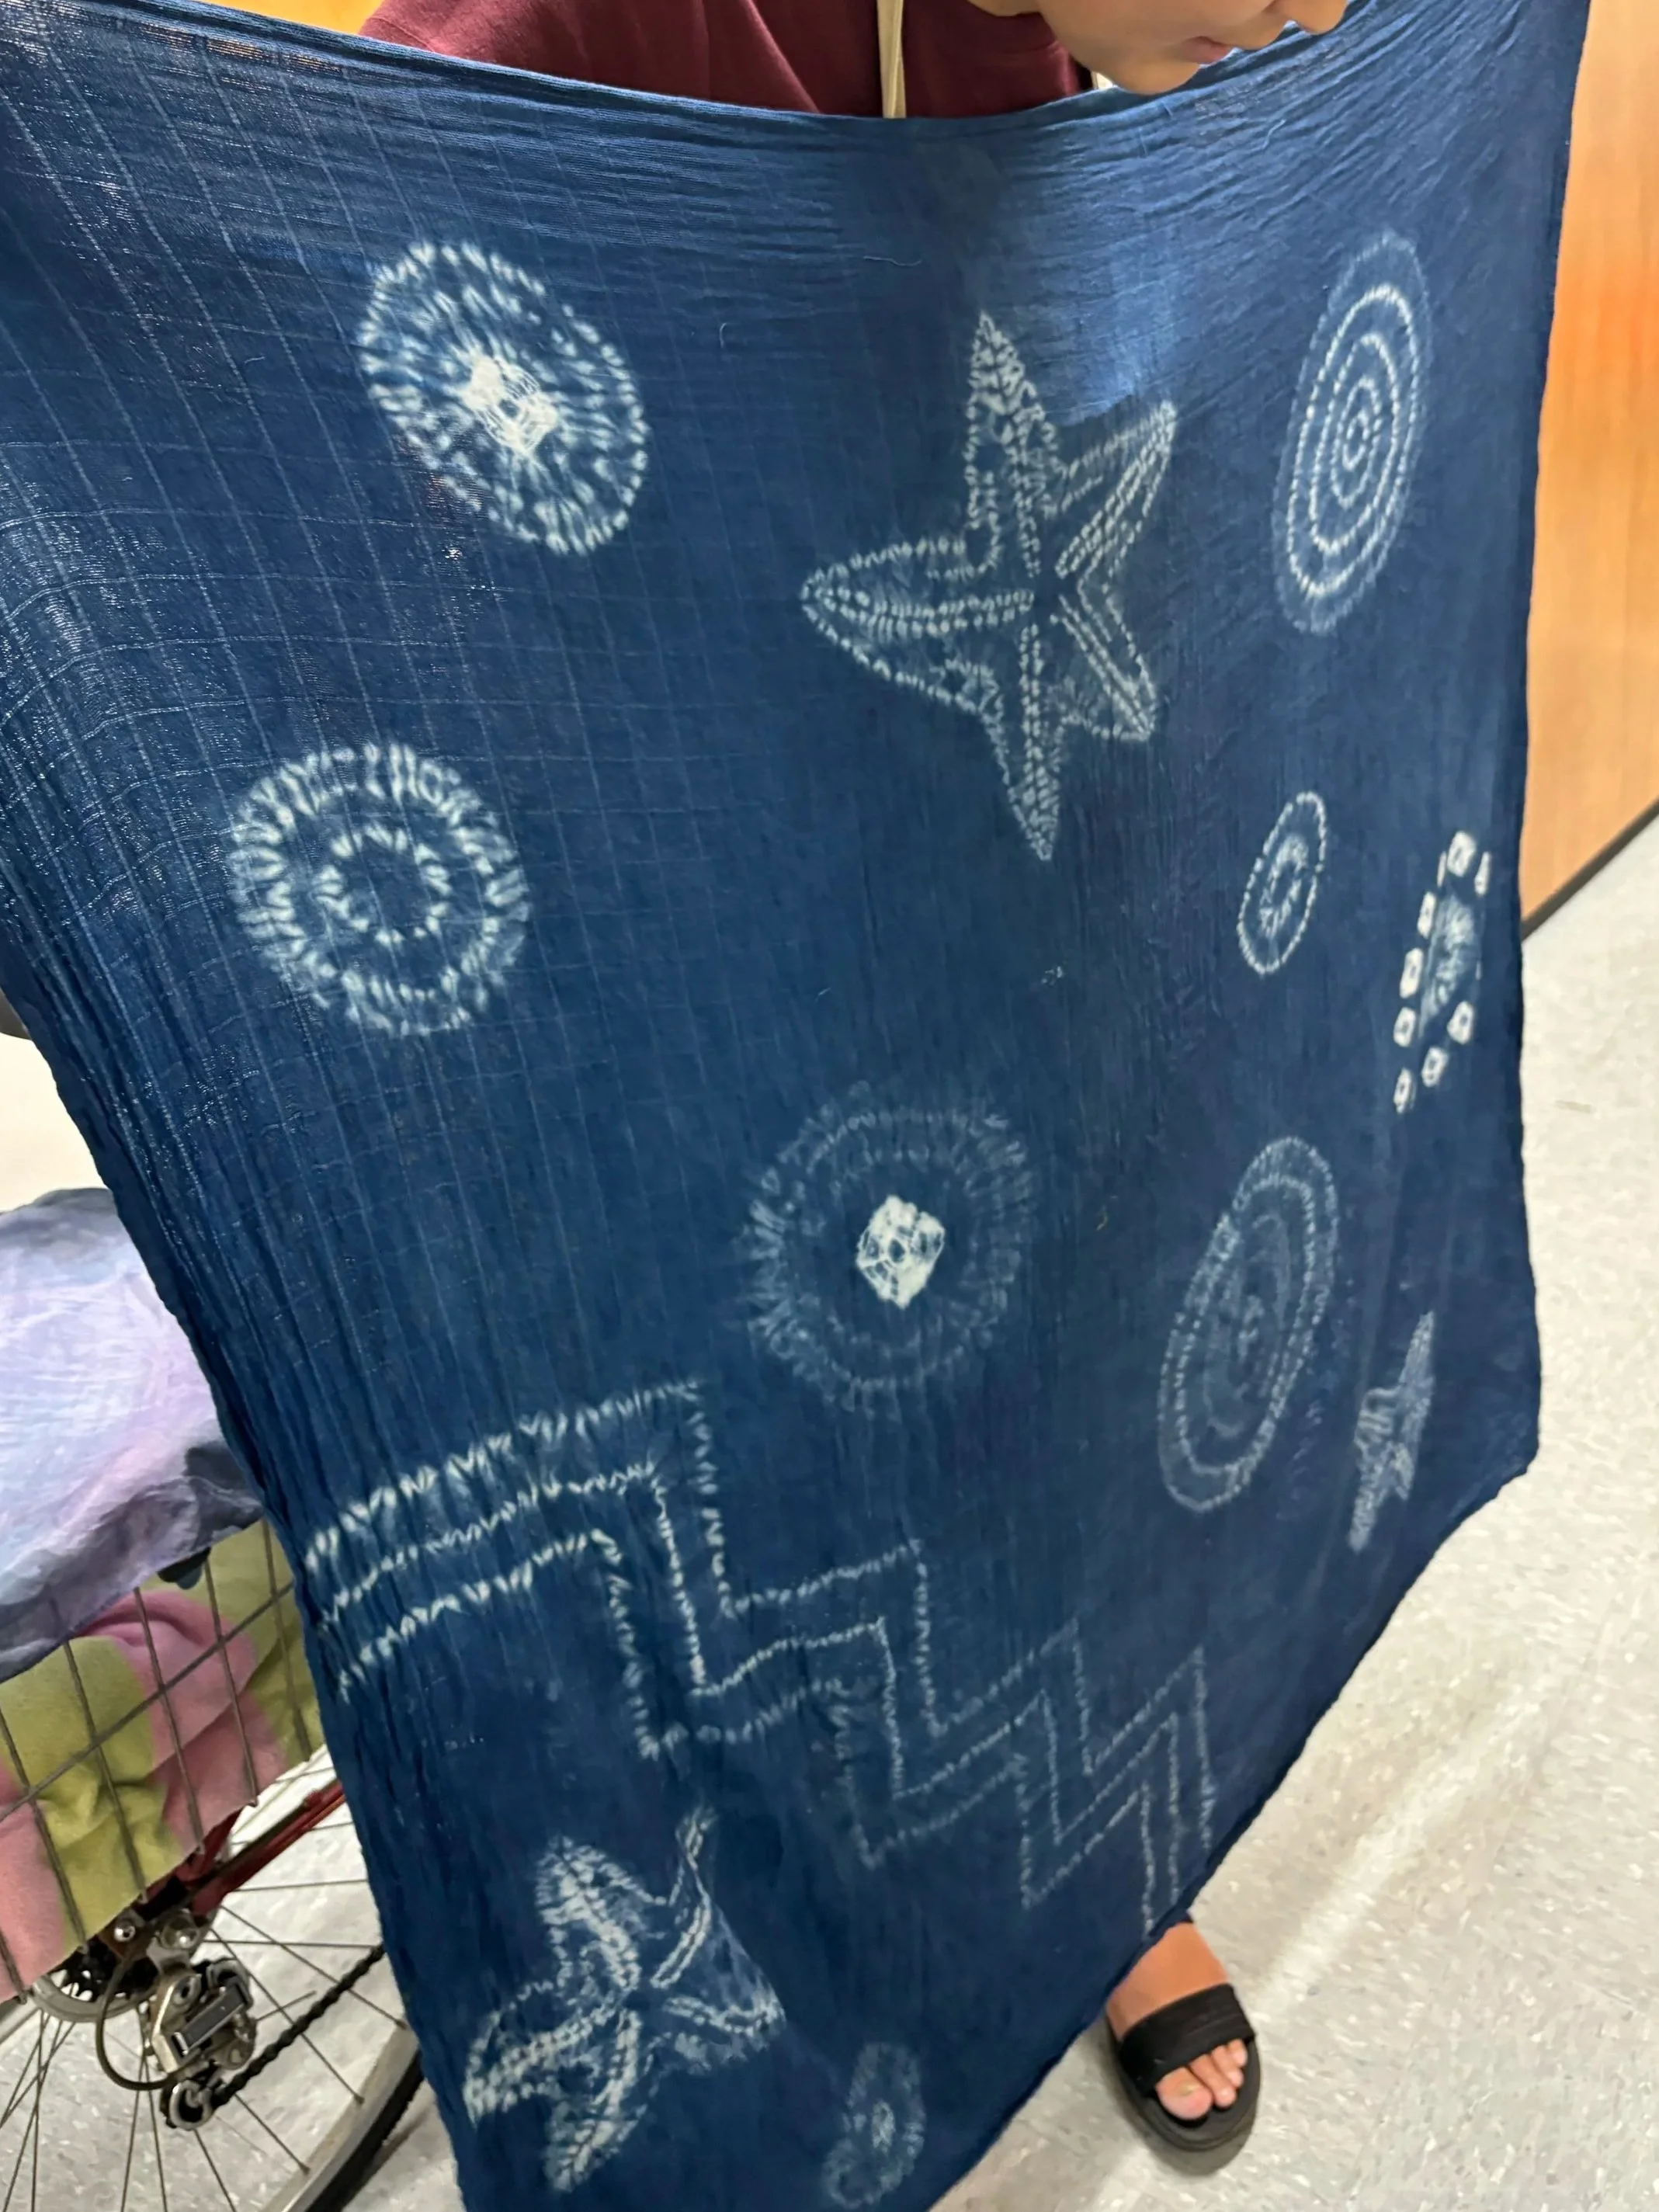
Here’s the finished swaddle! Might try to get a better photo of it later.
I was very much winging it and didn't find a clear description of the tab method so did some of it wrong, but I think I figured out what I was meant to do, closer to the end of gathering all the threads.
I think this is only necessary if you have a gauzy fabric and thin thread, which was my situation. I was using a very slippery polyester, which only snapped on me once or twice, and was the strongest thread I had. The "tab" in question is an approximately half inch square bit of fabric that one end of the doubled polyester thread goes through. When you tie a knot at the end of the thread, you can tighten it around this tab of fabric easily. This ensure the knot doesn't slip through your fabric, and it makes it very easy to see where your ends are, so that clipping threads is easy once you're ready to reveal your design.
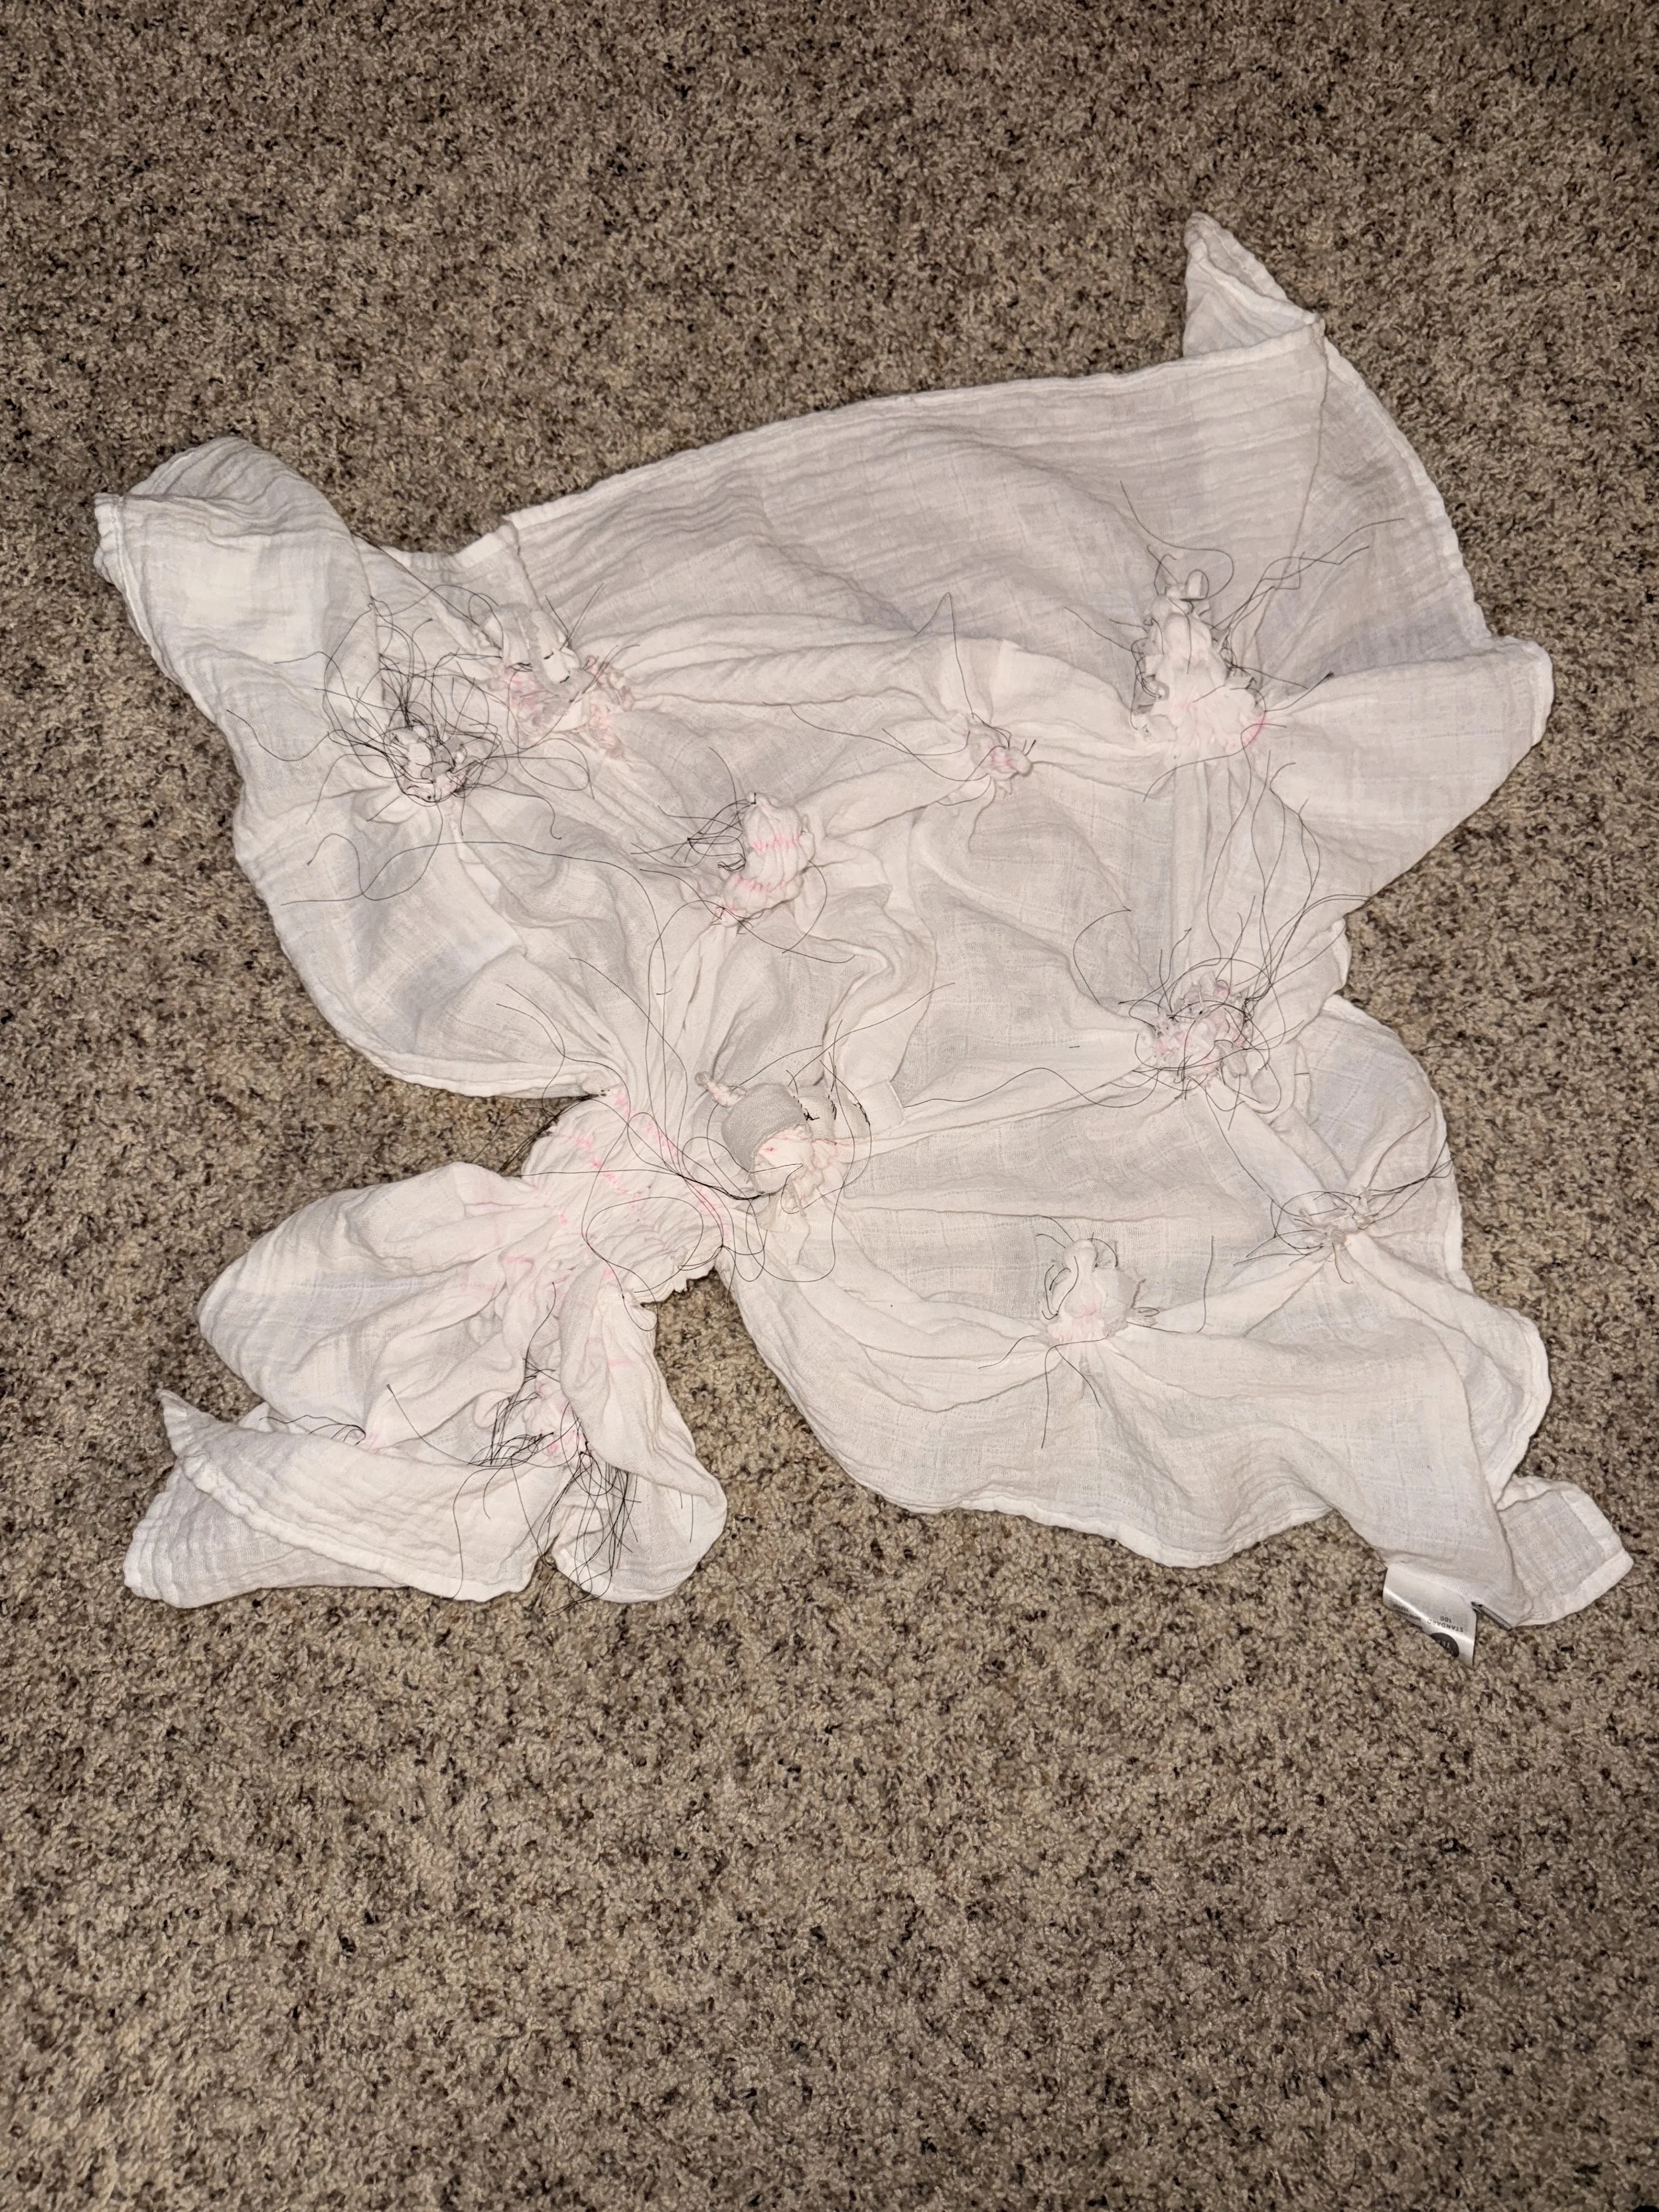
Threads gathered
The stitching was fast and easy, relaxing even! Gathering and tying the threads took probably longer, and took more effort on my part.
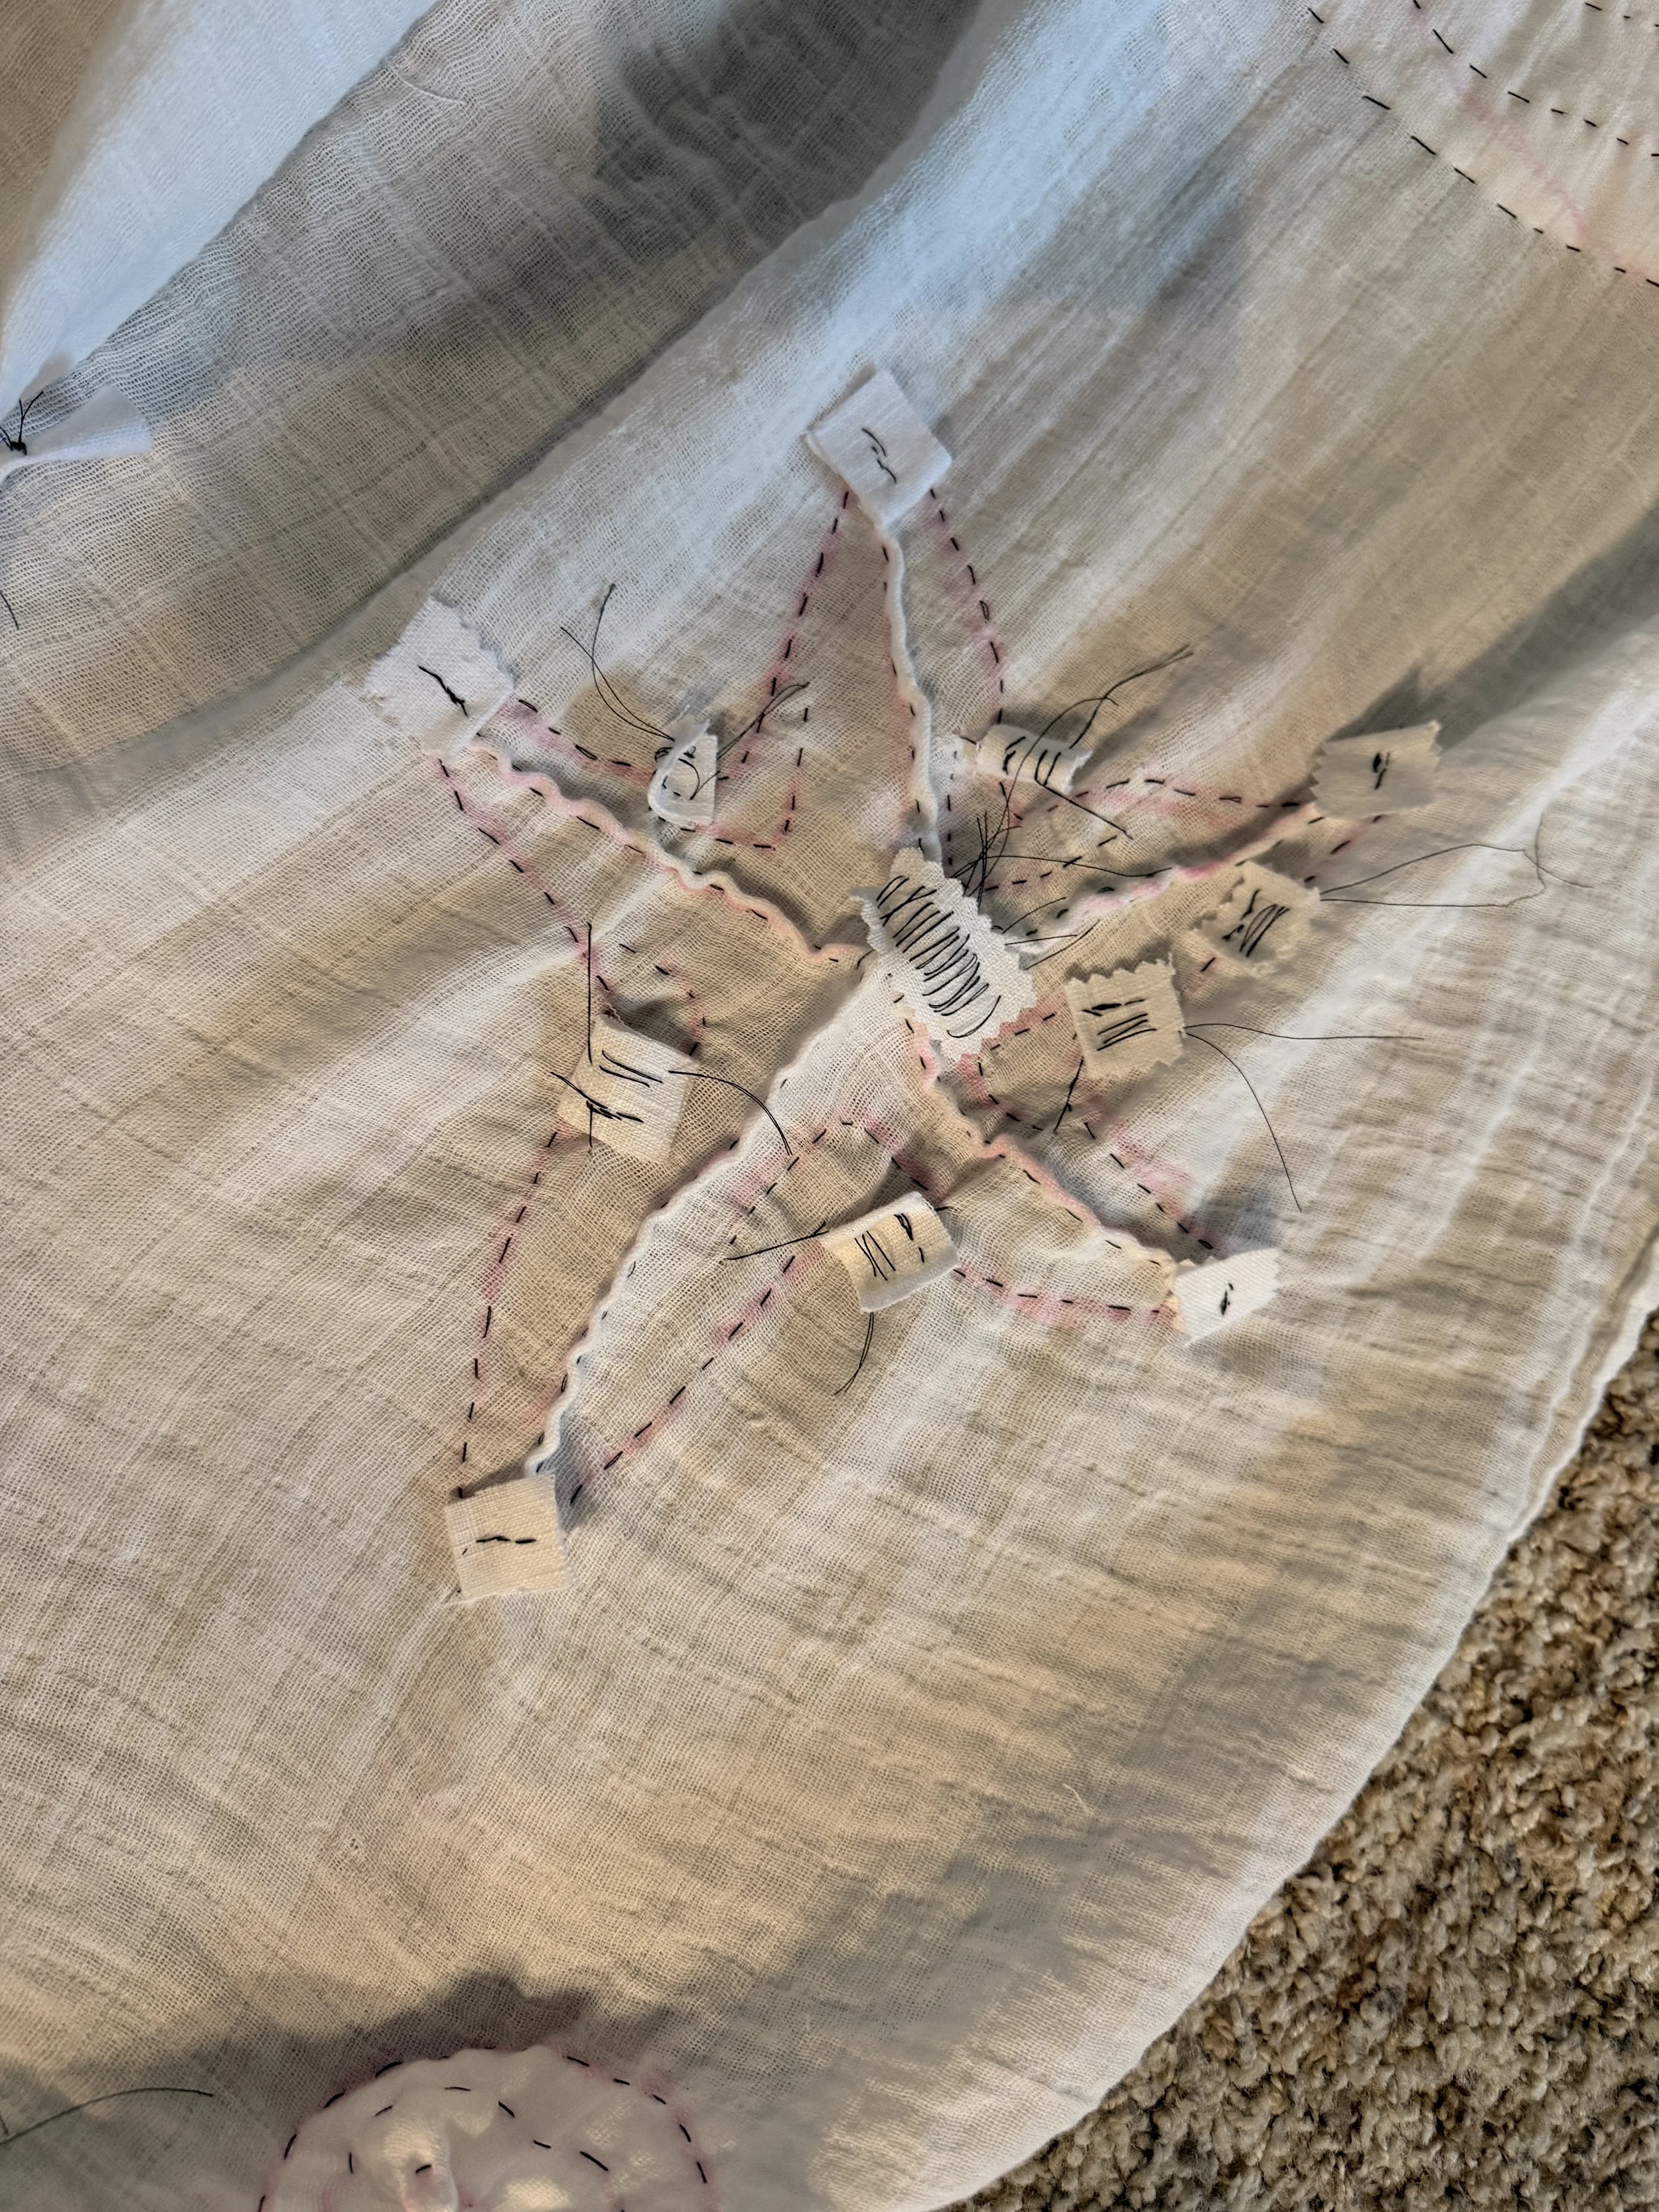
Starfish!
Before gathering threads. Each end is sewn into a tab (not actually done the way I would do it now, but the tab itself is important). The edges and curved lines are running stitch through one layer, the spines are running stitch through two layers.
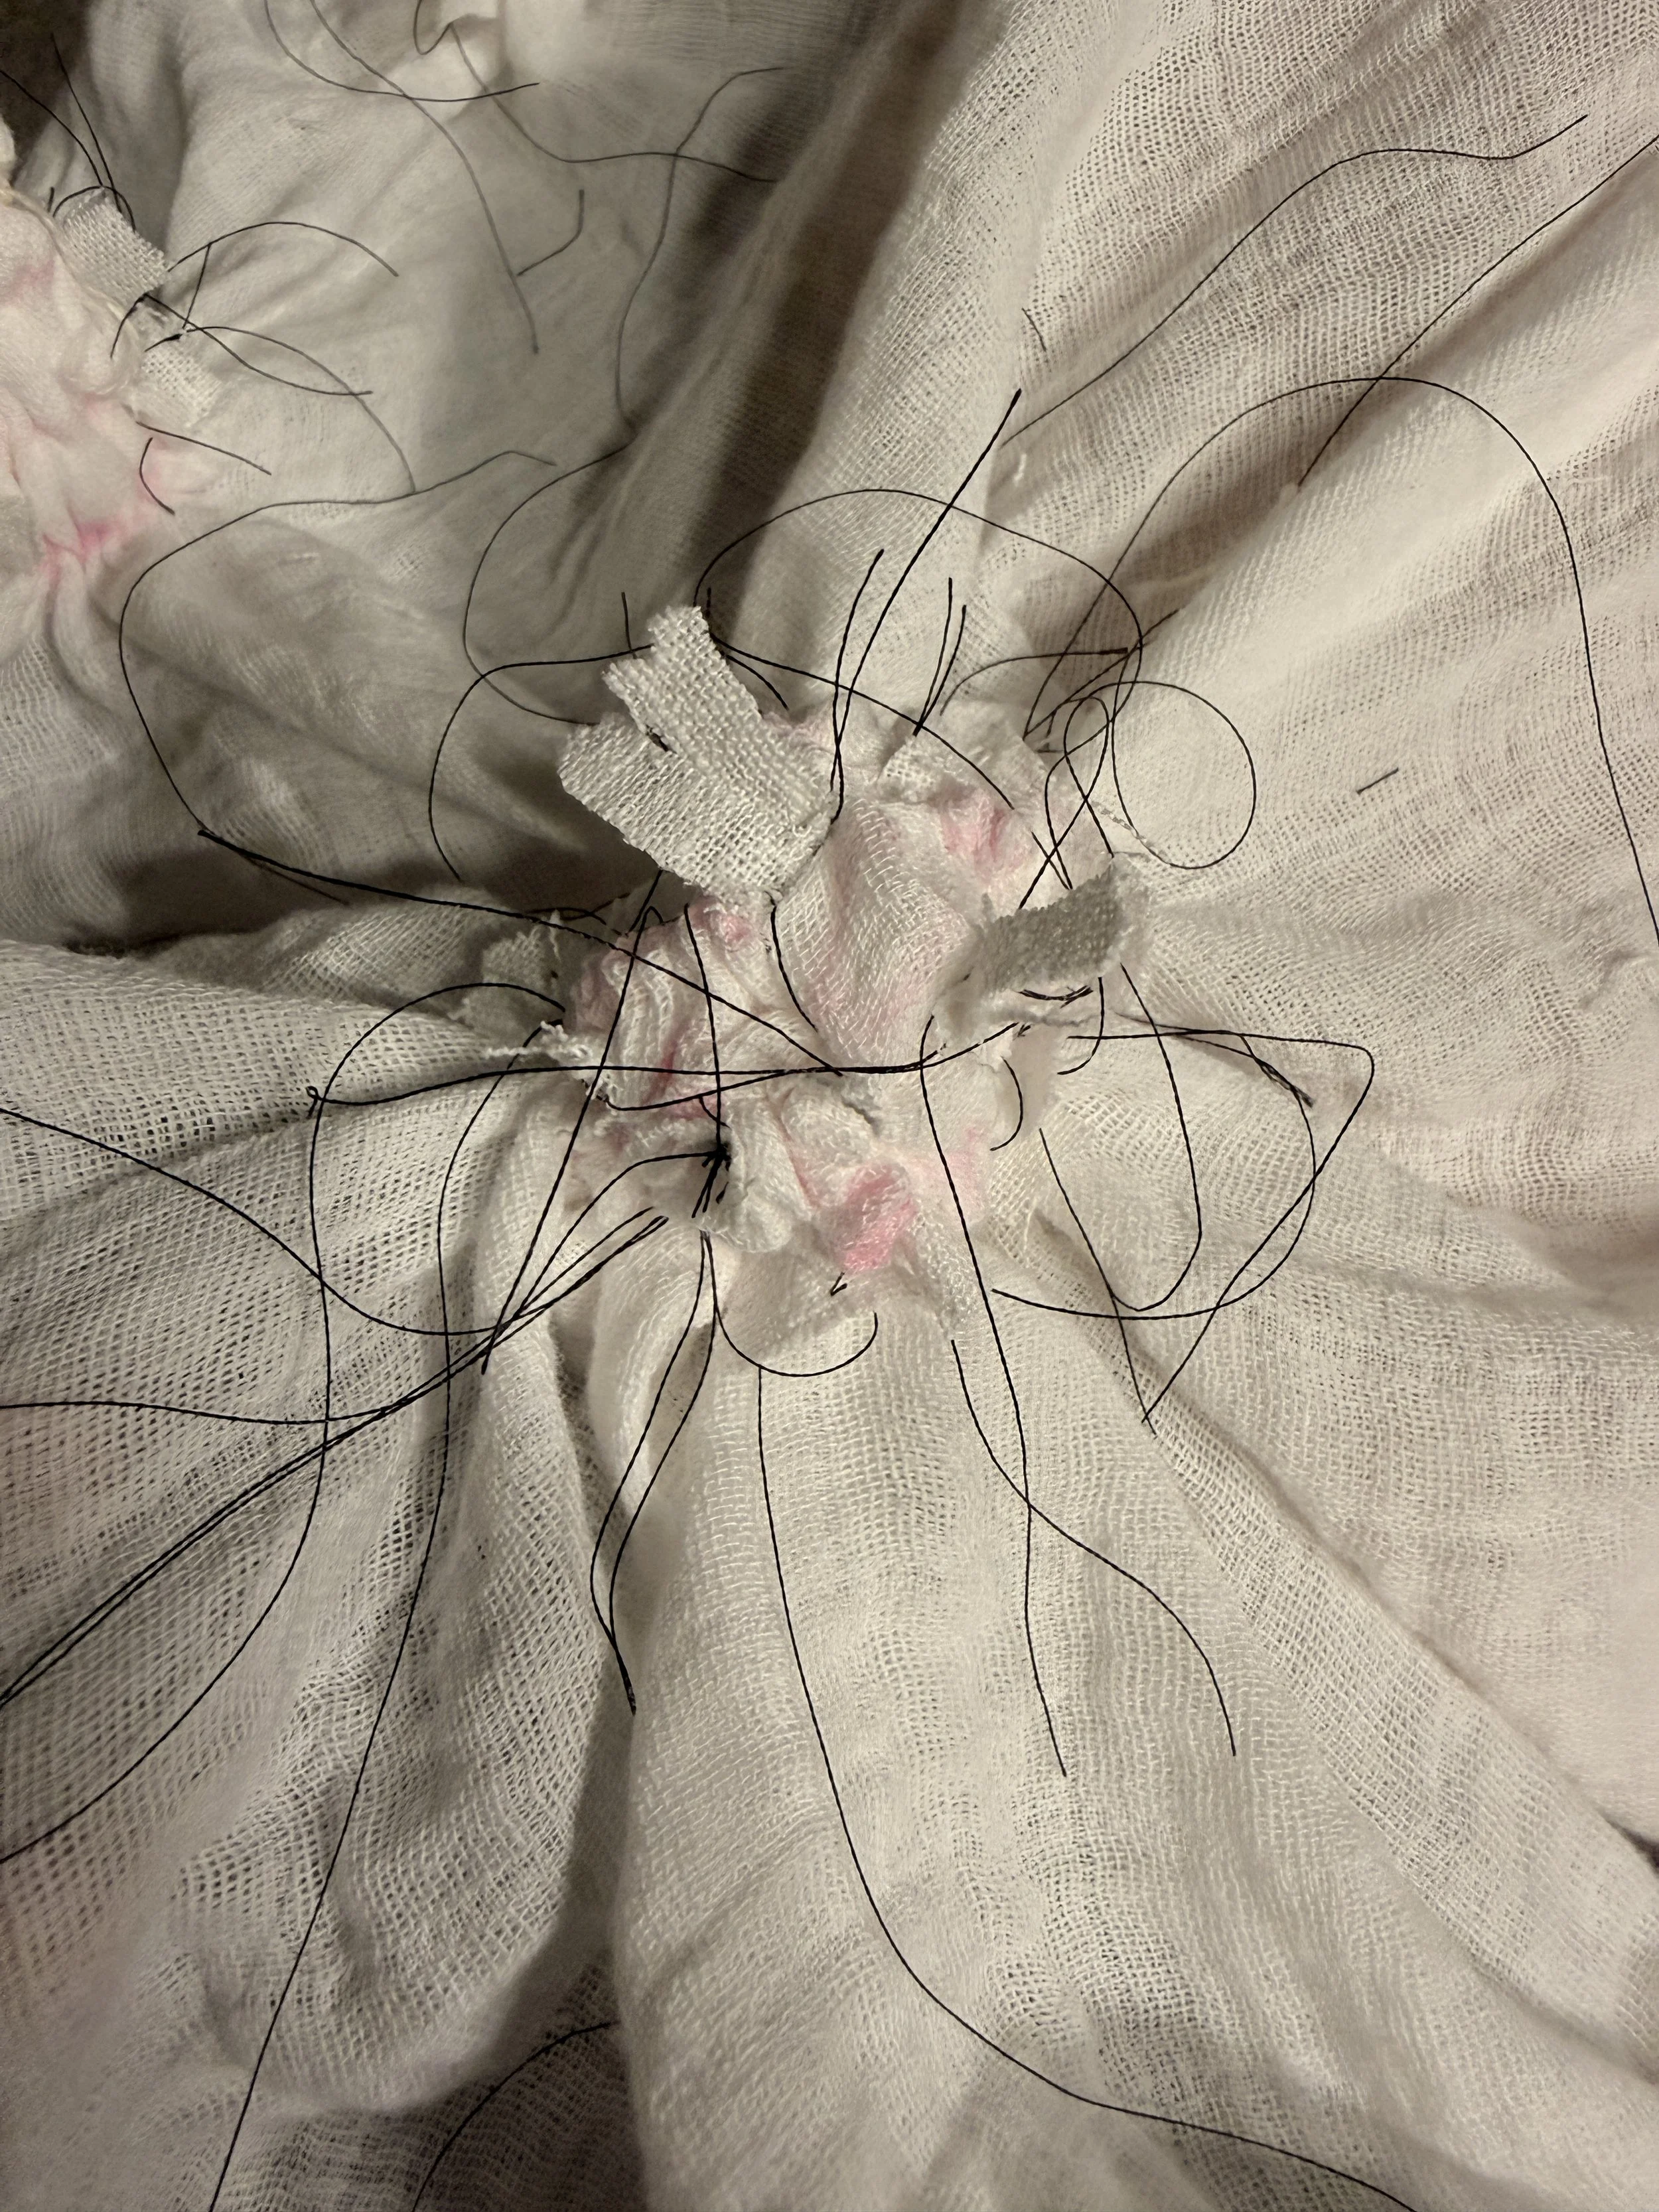
Starfish: gathered
Starting with the small curves, I gathered and tightly secured those stitches. Then the spine stitches, then finally the outside. I wasn’t quite sure the outside stitches had fully been gathered up, as it become difficult to see once everything is so squished up like this.
I removed the resists once the rinse water was totally clear. I avoided scrunching the fabric as I wasn't sure if it would force dye into the resists. Still not sure about that!
My starfishes turned out very well I think. I would adjust the line placements and sizes for next time, now that I have a better sense of how the before/after are related.
I like the variety of circles I created too. Tried to keep them random. My favorite is the one with twelve beads around it -- unfortunately this was by far the most labor intensive to tie and untie!
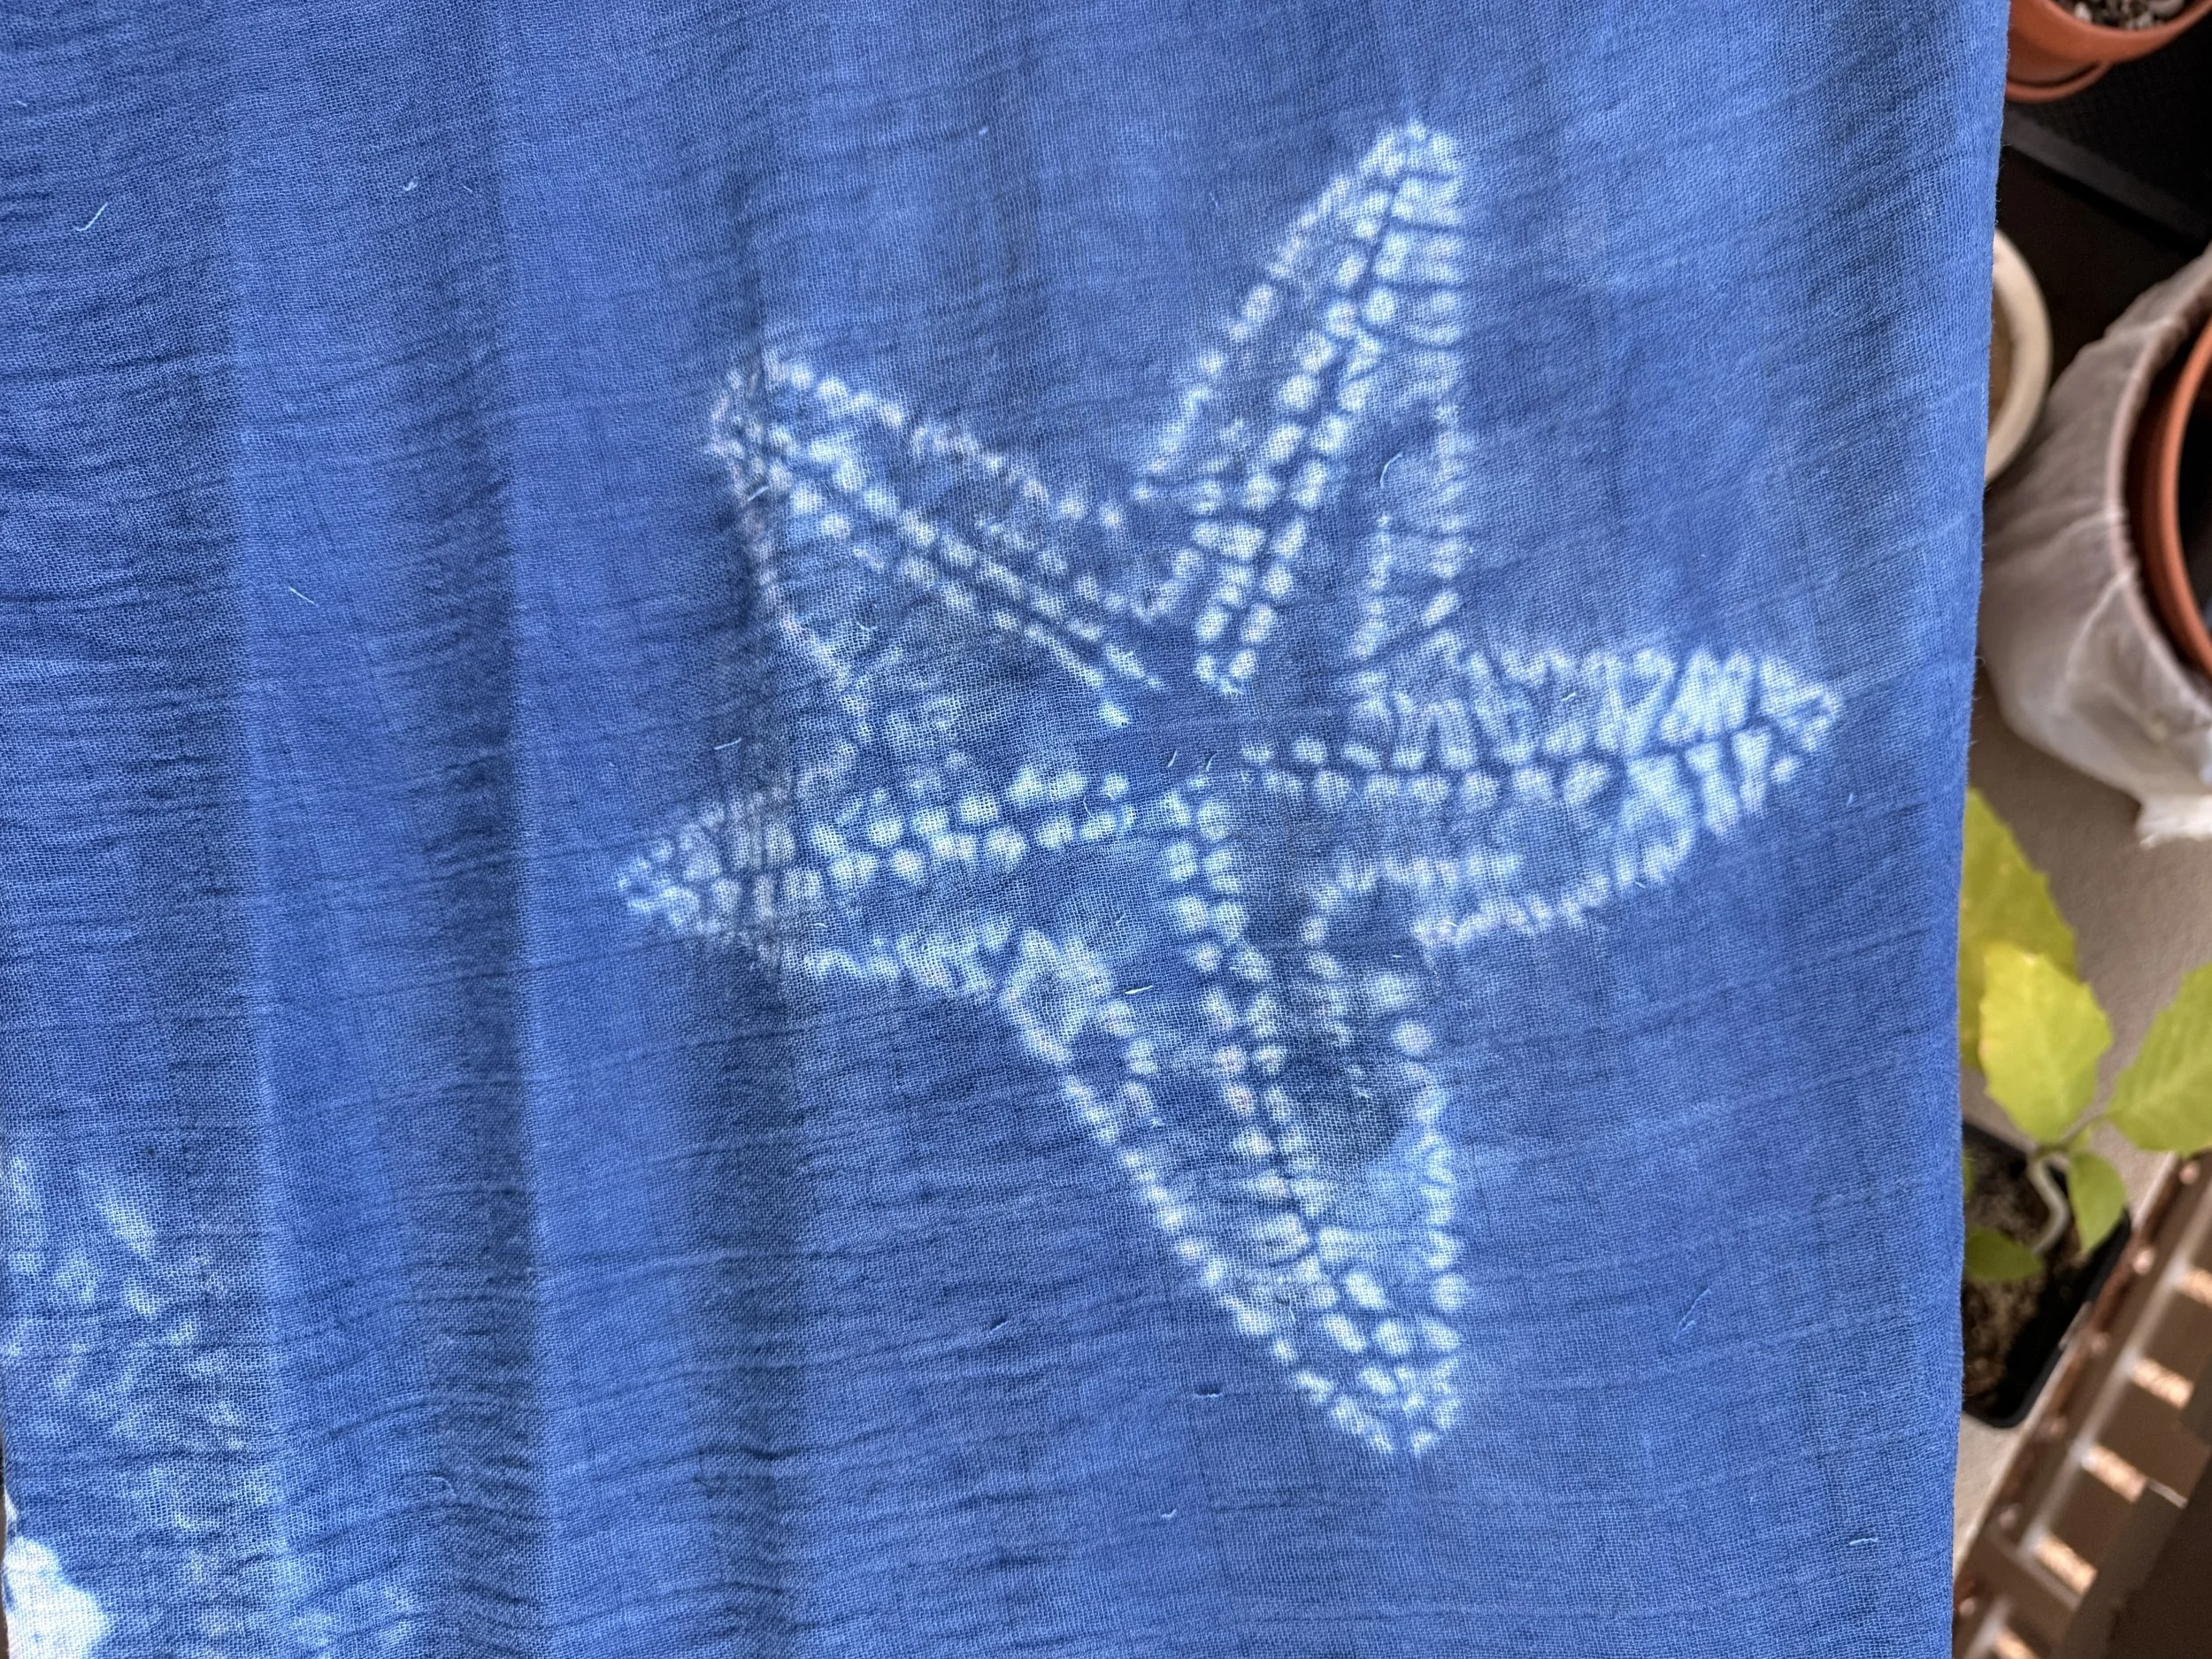
Starfish! Made this one a little less symmetrical on purpose. The spines on this one turned out really well.
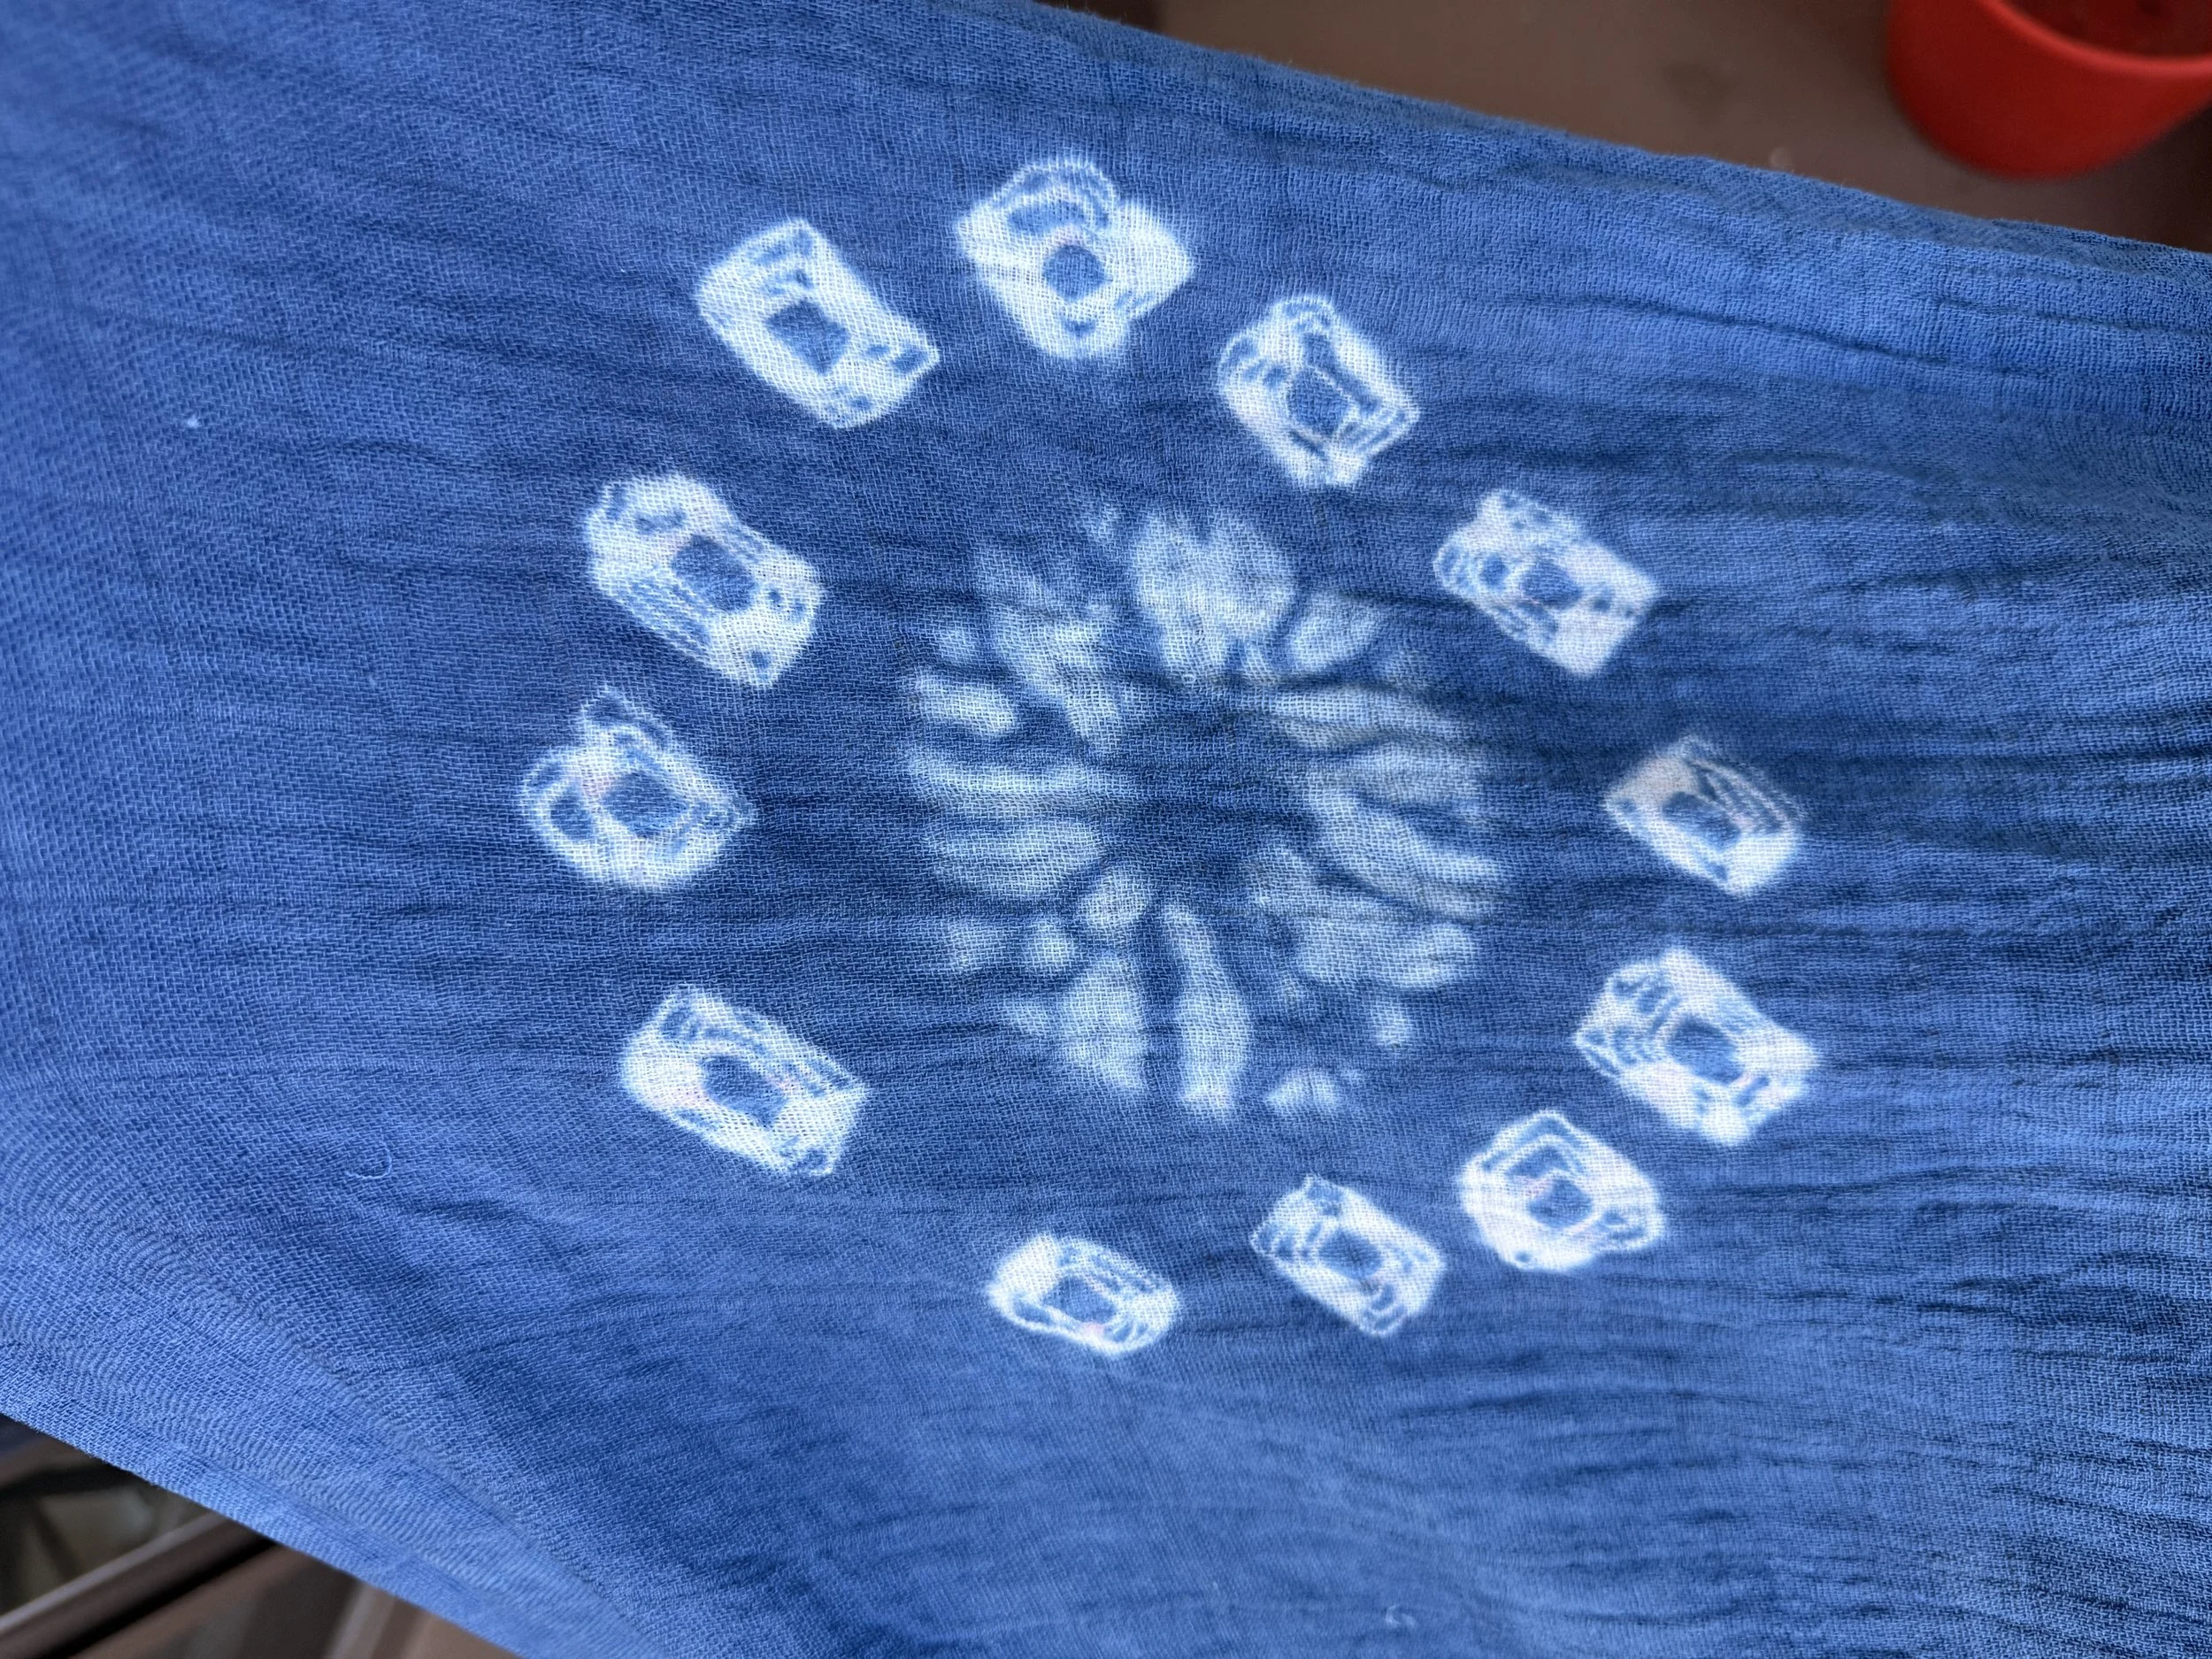
This circle had two or three lines of closely placed concentric stitches, plus twelve beads tied around it. Not sure why the circular beads produced a square shape!
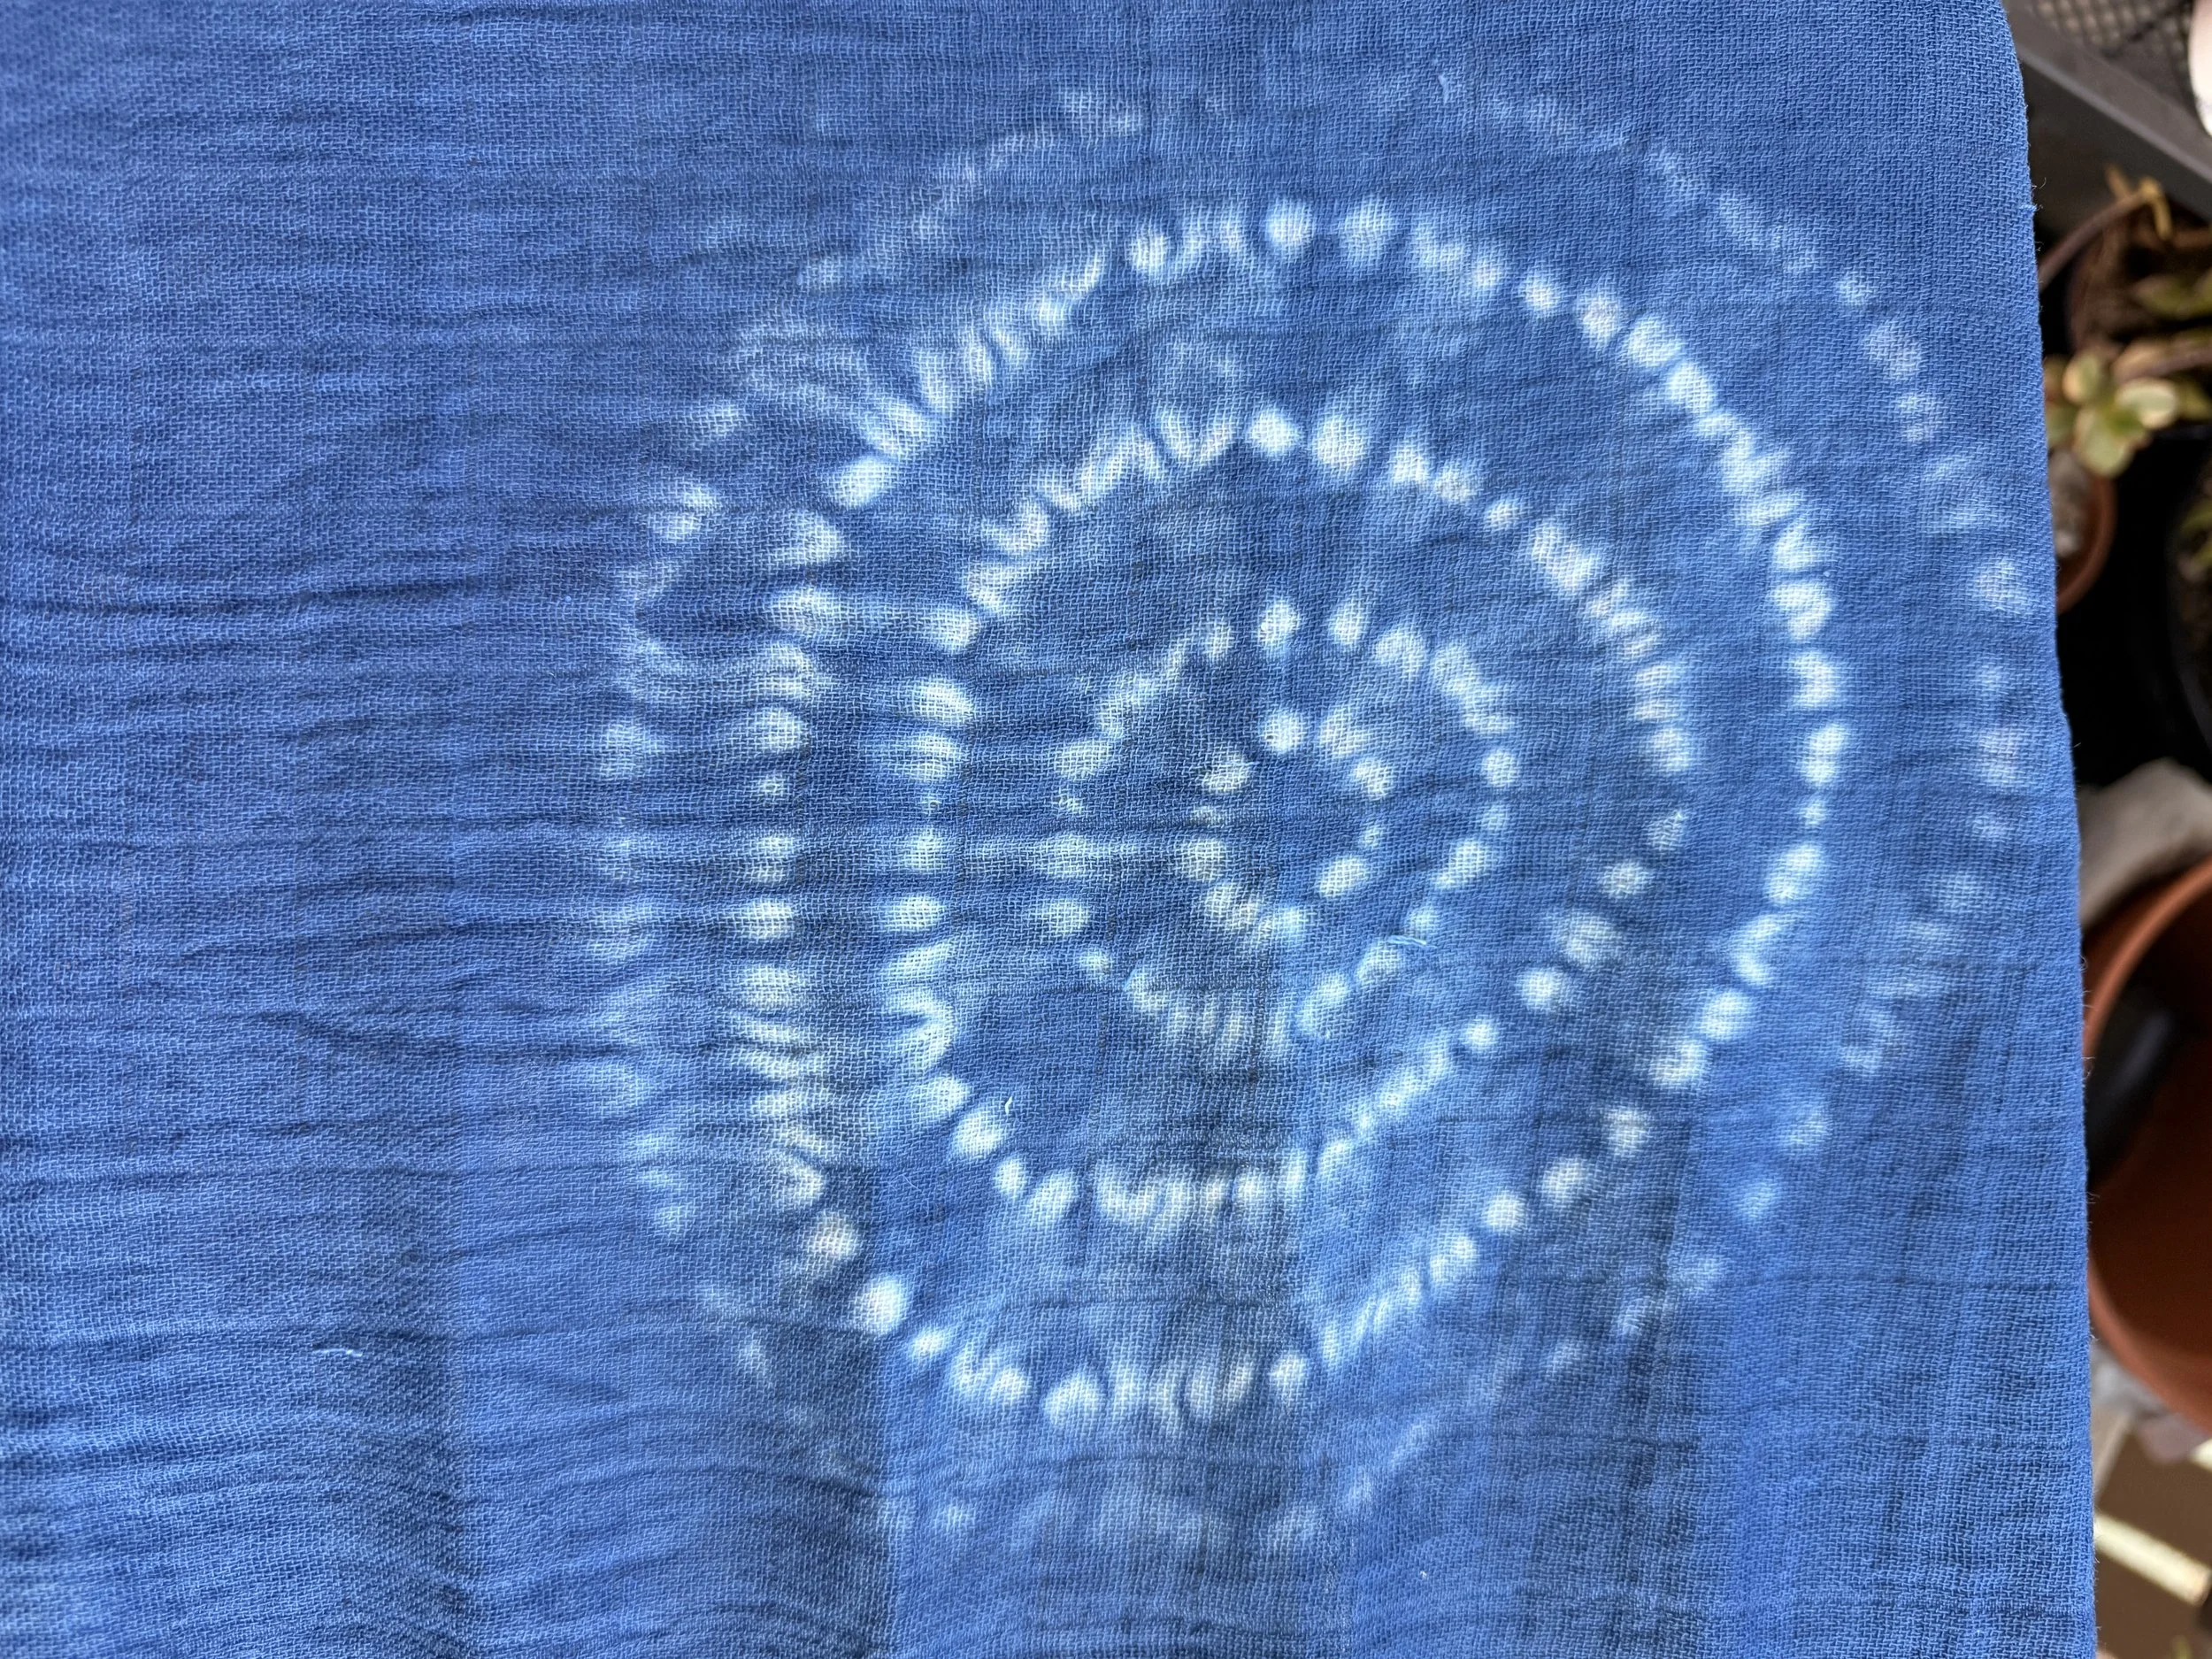
A circle! I definitely would put these stitch circles closer together to get a different effect next time.
